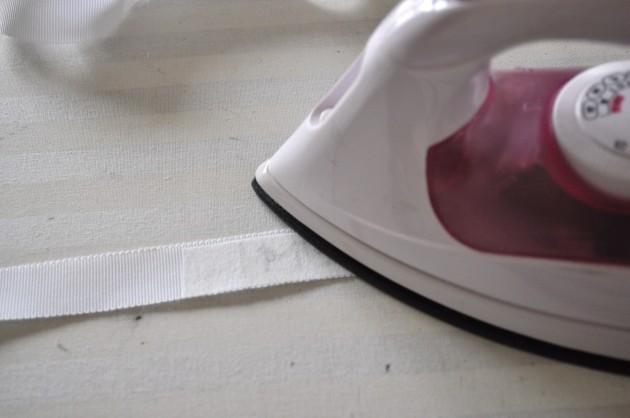
The last part of the wedding dress sewing is making a waist stay. I bought some petersham ribbon for waist stays. I like the edge of the petersham ribbon, and I think I prefer it to grosgrain ribbon.
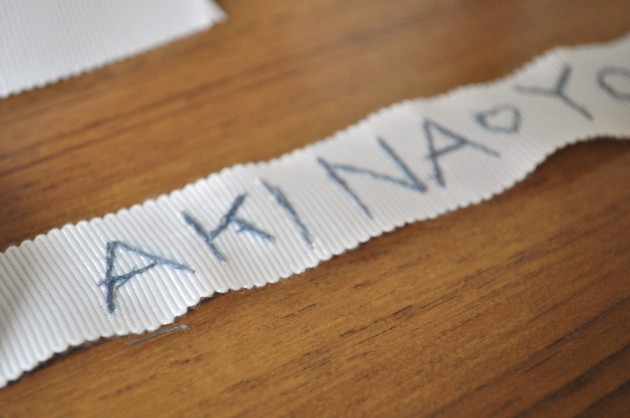
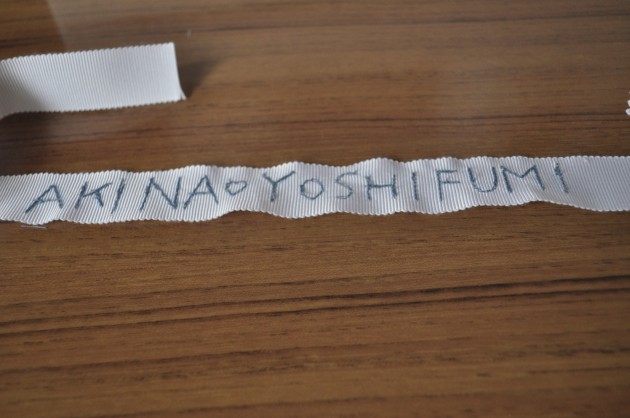
I wanted this dress to be special for my friend, so I decided to embroider my friend’s and her husband-to-be’s name on the waist stay. It’s tradition that you wear “something blue” to a wedding, so I embroidered it with pastel blue thread.
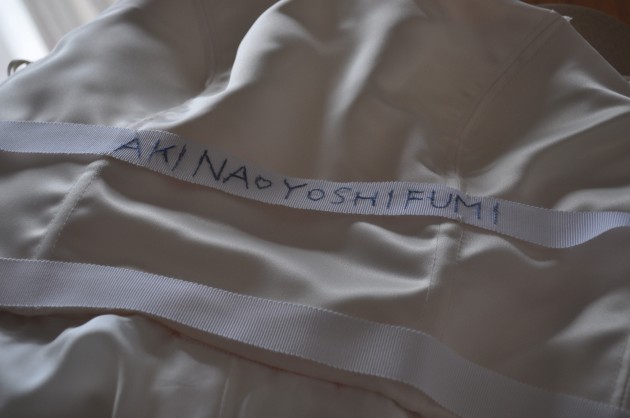
The look inside the wedding dress. I made two waist stays for extra support, one attached on the upper line of the waist band and the other attached on the lower line.
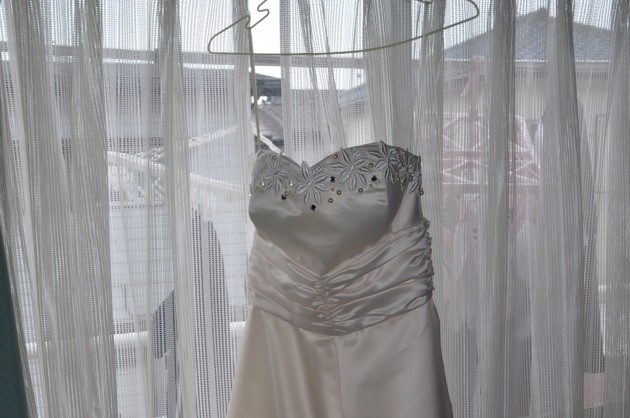
I also attached narrow width ribbons on the side before sewing the bodice lining. I did this so that I could hang this strapless wedding dress with a hanger.
Here is a little video of the completed dress! Seriously, the dress took hours. But the result was incredibly satisfying. I’m glad my friend asked me to make her the dress..it opened up a whole new world of couture sewing for me, and I really enjoyed learning new things!
I’ll show you the completed dress and some pictures from the wedding next week! xo
Read my progress on sewing wedding dress! :
Part 1 – Fabric shopping
Part 2 – Muslin
Part 3 – Another Muslin
Part 4 – Cutting Fashion Fabric
Part 5 – Sewing the Bust Part
Part 6 – Ruching
Part 7 – Skirt Part
Part 8 – Install a Zipper & Bones
Part 9 – Skirt Lining, Another Attempt to Install Zipper and More Supplies
Part 10 – Hemming and Attaching Pearls and Rhinestones
Part 11 – Balloon Train
