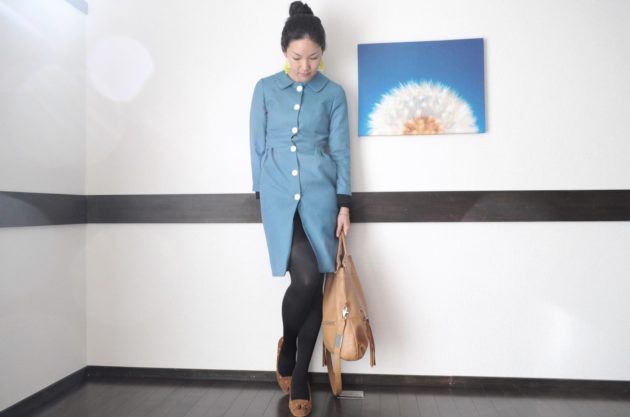
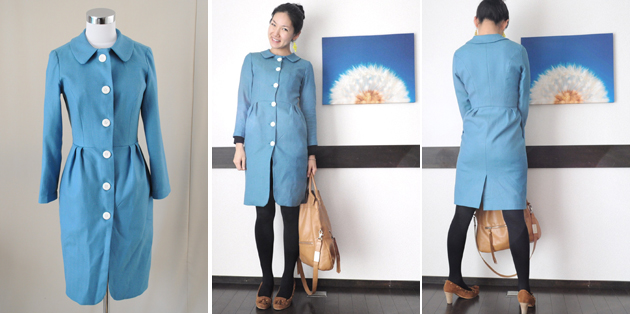
I have a new piece to show you – it’s a coat! I was working on it last week and after three nights, it’s done. It was done just in time for the lunch with my friends from high school over the weekend. I must say, I felt so special in my own handmade coat. Walking through the gloomy, cold Tokyo weather, where everyone wears either black, gray or beige, I was the only one wearing such a brightly colored piece, and it felt good! Despite some sewing failures I committed with this coat, I am pretty happy with the result.
Pattern: Coat pattern from BurdaStyle Sewing Handbook
Fabric: Teal color wool, bought at ZakZak in Nippori, Tokyo
Lining: Solid brown 50% silk 50% cotton mix, bought in Tomato, Tokyo
Notions: light weight stretch fusible interface (block fused all the pattern pieces, except for the sleeves. For sleeves I only fused the interface on the hem), and 6 big white buttons.
The most time-consuming part of making this coat was tracing the pattern pieces from the book. It took forever and I almost gave up since there were so many pieces! Plus, you have to add your own seam allowances. I added 1cm seam allowances all around except for the hem and sleeve hem. I used size 34 pattern. I did not make any modifications except for the sleeves. I am not a big fan of puff sleeves. I just don’t look right in them, so I took out the ease in the sleeve patterns to make them less puffy. Besides that, everything was according to the original pattern. The length was perfect for me – right above the knees. I must warn those of you who are thinking of making this coat, this coat is very slim. If you want to make this as a winter coat, you will have to go one or two sizes up so as to be able to wear multiple layers underneath. I kind of wish that I traced a size bigger.
As Novita wrote in her coat post, Sherry’s RTW tailoring sew-along was really helpful in making this coat. I learned a lot from reading her sew-along. She is a great seamstress with a lot of industry experience, and if you haven’t read her blog, I would so recommend reading it!
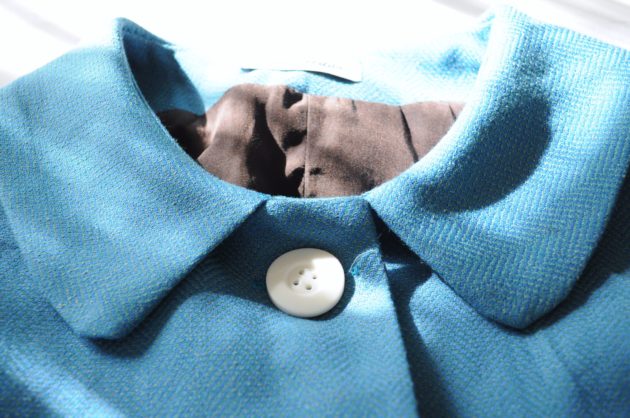
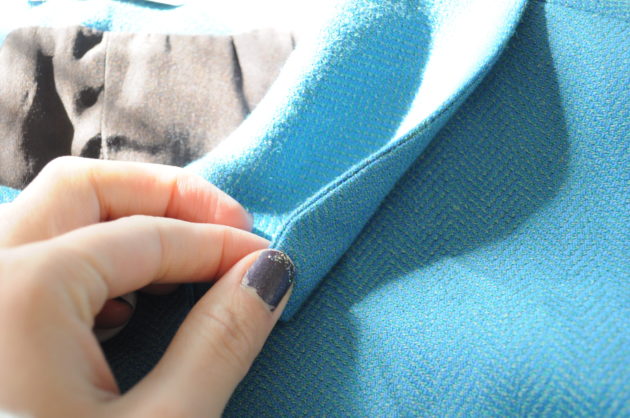
With help from her posts, I think my coat collar came out really well. Turn of cloth allowance was something I learned from Pattern Scissors Cloth and Fashion Incubator (another great blog by the way!). Sherry talks about making separate pattern pieces for top collar and under collar, but since I’m lazy, I use the same pattern. For the under collar, I marked the pattern piece on fabric with a tailor’s chalk, then cut inside the chalk line so that the under collar is cut a tiny bit smaller than top collar piece. I did it this way so that when you turn the collar inside out, the under collar sits nicely without peeking out.
I bagged the coat lining (useful article at Thread’s here). The article talks about leaving an opening under arm, but I actually turned from the vent. The article does not show you how to bag line a jacket with a vent. Since I was going to hand sew the lining to vent anyway, instead of making an opening on sleeve, I just turned from there.
Oh another thing to note about this pattern is that the sleeves seem short. I don’t think I have particularly long arms, because the model in the book wears the coat and sleeves seem short on her as well! (above wrists). So, I if I had to do it again I would lengthen the sleeves a bit.
Overall, I am happy with the coat. I want to use the same pattern to make a spring coat in black and white gingham. You may find a similar coat with Meijer promo codes. I saw a gingham check no collar spring coat in Marc Jacob’s Spring collection that I want to imitate 🙂


