I was recently asked to make a wedding dress and two little boys shirts with the dress. They are going to be made of the same fabric. The brides 2 boys are two and four. Since I don’t have much experience in sewing children’s clothing, I bought this vintage boy’s shirt pattern. It said the pattern size was 10. I really didn’t know what that meant but I bought it anyway without further research of vintage pattern sizing since it was on sale. When the pattern arrived, I opened up and tried to grade the size down according to her boys’ measurments. But, I noticed while doing this, that the size 10 fits a boy age 10, and trying to grade the pattern down to age 2 would take a lot of effort. Instead of fighting with that pattern, I looked for some little boy’s shirt pattern I could use for this project.
The pattern I found is from the Lily Bird Studio. She is on etsy, but I bought the pattern from her main site. It is called “Summer shirt for Boys” and it was $6.50, PDF pattern. Pretty reasonable. However, I had a lot of problems with this pattern. Unfortunately, I don’t think the pattern maker is very skilled in pattern making or knows much about sewing… For one thing, the sleeve pattern was created to cut on fold. As far as I know, I don’t think sleeve patterns, especially button down shirt patterns should be made to cut on fold. That’s because the front sleeve curve should be different from the back one. The front armhole is scooped deeper to allow forward arm movement, and the back should be less so. The length of the back armhole should be longer than the one of the front. So I was a bit confused by the fact it was supposed to cut on fold.
Also, the labeling was off. For example, the back yoke was labelled “back top” and collar stand was labelled “neck”. It just made me think the pattern maker has no idea about pattern making and perhaps it was traced from an already made shirt and made into a PDF format? I had other problems with the instructions, but I won’t mention it here…
Well, despite my beef with this pattern and its instructions, the shirts turned out ok, I think. Here are some pictures.
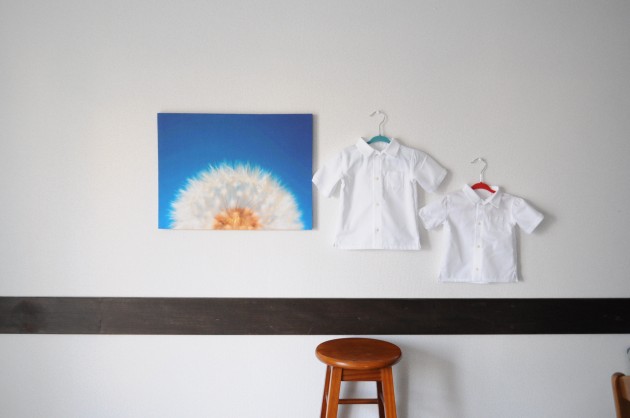
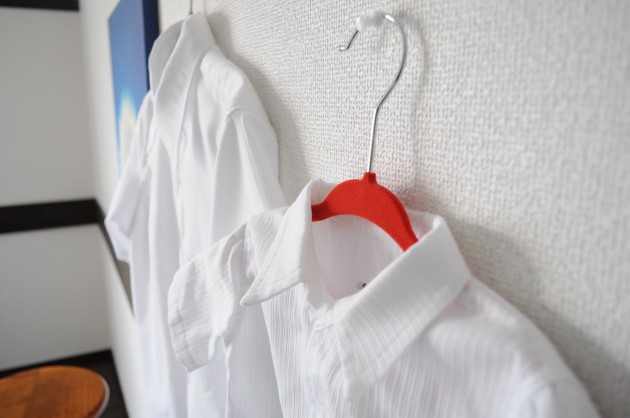
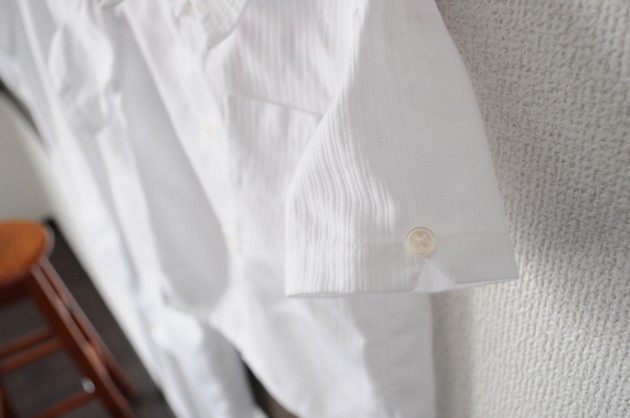
One of the modifications I made was on the sleeves. I added a little slit detail and a button. Oh, another thing is that the seam allowances that were included in this pattern were 1/4″, all around. I thought this was kind of strange. I lengthened the sleeve length because I needed more than 1/4″ of seam allowances for sleeve hem to hem them (I changed to about 2cm).
When I finish these shirts, I put them on my ironing board. Then I had this gold YSL nail polish in my hand and somehow it slipped from hand and the cap opened up! It poured on one of the shirts! I freaked out but it was too late. I did some quick research on how to get nail polish off of fabric. It says to use nail polish remover but it did not work. So I had to make another shirt, thank God that I had extra fabric!!
By the way, fabric I used was a cotton blend with stripe pattern. It’s nice since it does not wrinkle much.

