 Three easy-to-follow sewing tips on how to sew tulle for wedding dress
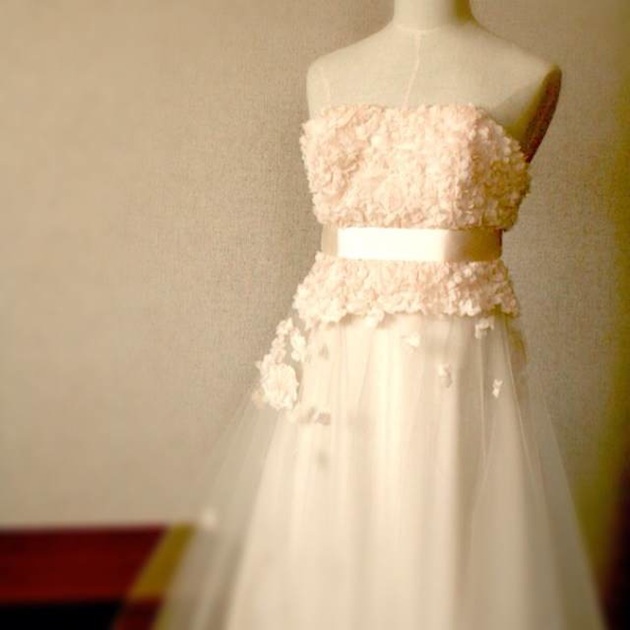
I recently refashioned a tulle wedding dress to a tulle skirt. The inspiration was Olivia Palermo’s two-piece wedding dress. It was interesting to take the dress apart which was made by someone else to make it into something different, and I picked up a few tips on working with tulle fabric along the way.
1. Don’t serge the seam allowances.
Because tulle is see-through, if you overlock the edges, it will be visible from the right side of the fabric. I found overlocking the tulle edges is unnecessary since tulle does not fray. Instead, use a wide seam allowances like 3 cm and press the allowances to one side without zigzag or serging. From trial and error, this turned out to be the easiest and least noticable way to finish tulle seam allowances. 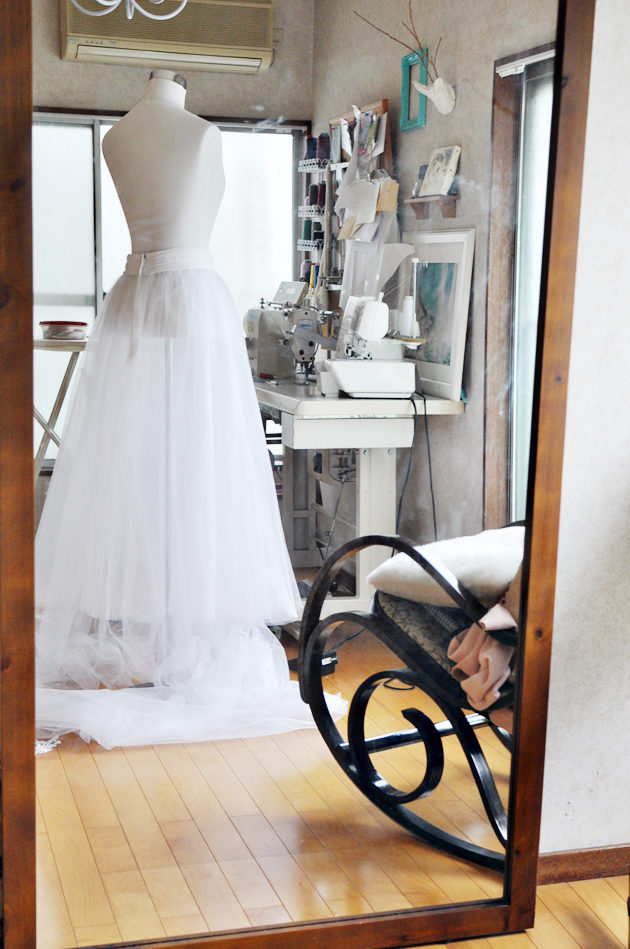
2. Be careful with the iron temperature.
If you are using nylon tulle, don’t use the high temperature setting as it might melt the fabric! I’ve done it myself. I would start with the low temperature on a scrap fabric first and then gradually raise the temperature. 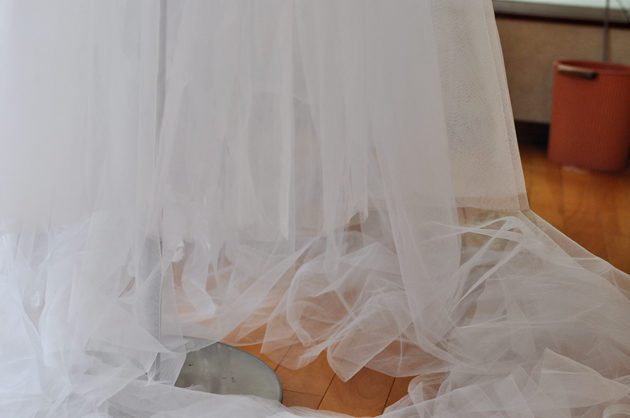
3. When hemming, hem on the dress form first then use rotary cutter to finish the uneven edges.
First place the dress on a dress form or hang it from the ceiling. I use dress form and place it on a chair so it is easier to work. Then use a tape measure to measure the length and start marking the fabric with using pins. Then I cut the dress and take it to a mat so I can make the hem edges pretty using rotary cutter and ruler. 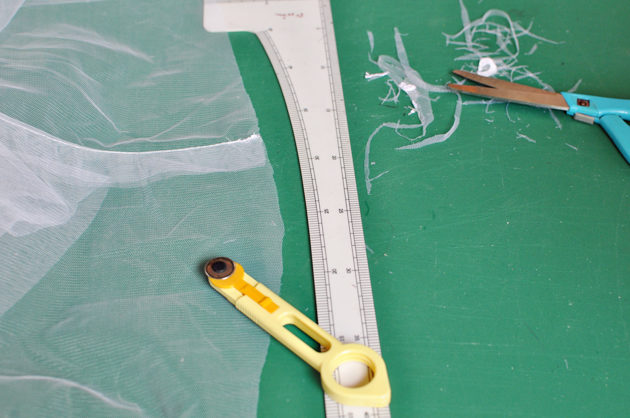
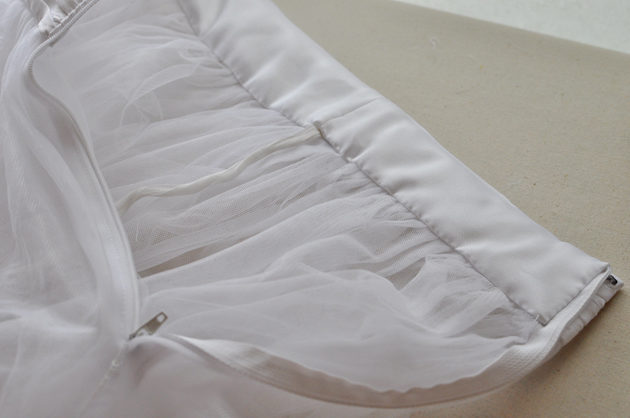
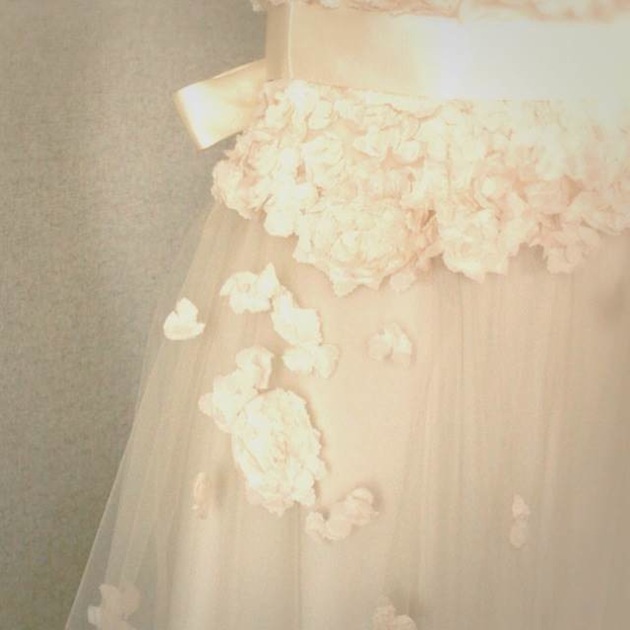
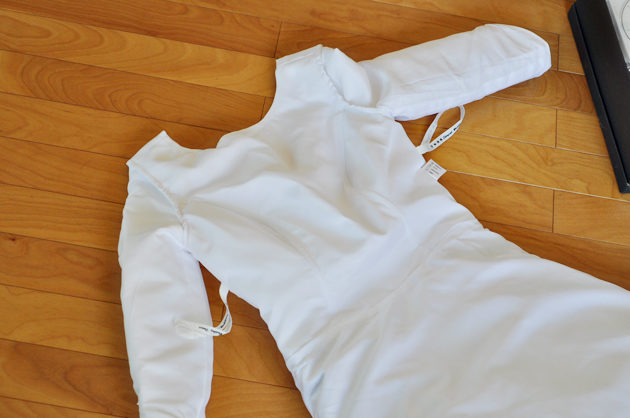 Dress before refashion above.
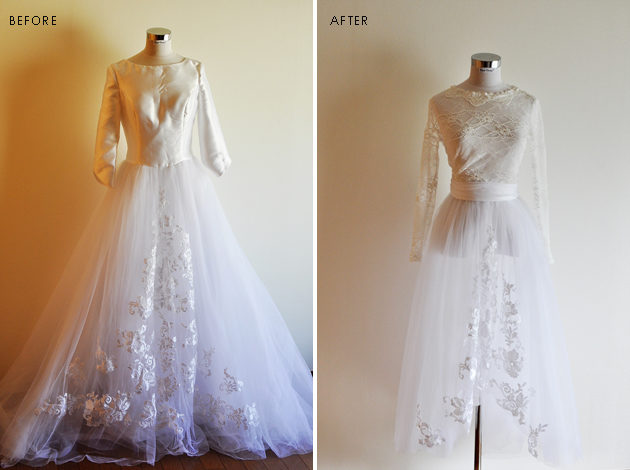
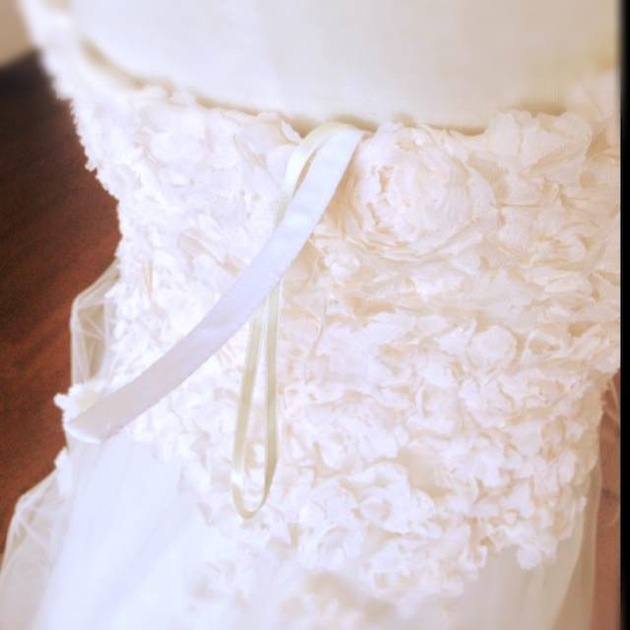
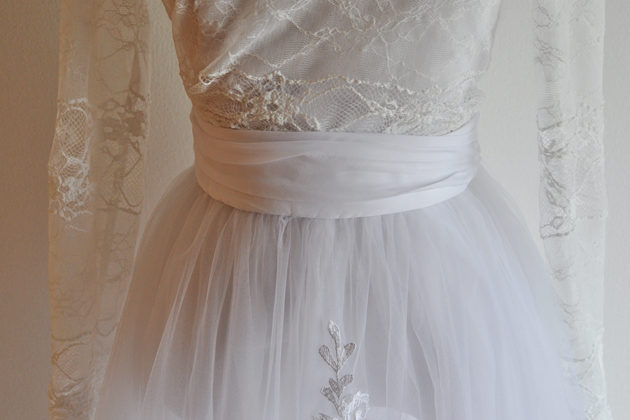 I used the original dress’s lining fabric to make the waist band. It’s gathered on the side just like the one of Olivia Palermo’s.
P.S. I’ve written more tips on refashioning wedding dress here and here.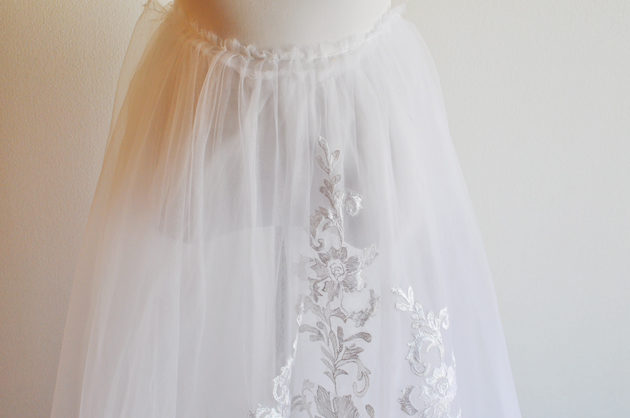 このページを日本語で読む
