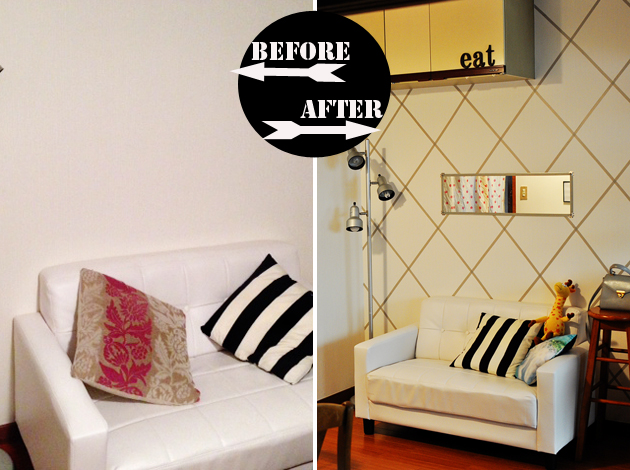
 I wanted to share with you the little decor DIY I did the other day. I get so many useful, practical ideas from Pinterest. It is sometimes overwhelming. This washi tape diamond wall was on my list for a while. I thought it was a perfect project for a renter like me. I also liked this stripped wall and neon pink random lines, but as a first project, I decided to go for a simple diamond for this small kitchen/dining area.
Here are some “in progress pictures”. On the left, can you see that the lines are not perfectly perpendicular? the “simple diamond” didn’t turn out to be so simple for a beginner. On first try I attached the washi tape using rulers (24cm width apart), but after a few lines were completed, I looked at them from a distance, and they look completely juvenile. I took a break, calmed down, took off the tape and started over again. The great thing about washi tape is that it is very easily removable. For my second try, I used a canvas (used for this art project here), and that helped. I was able to get the lines perpendicular to each other.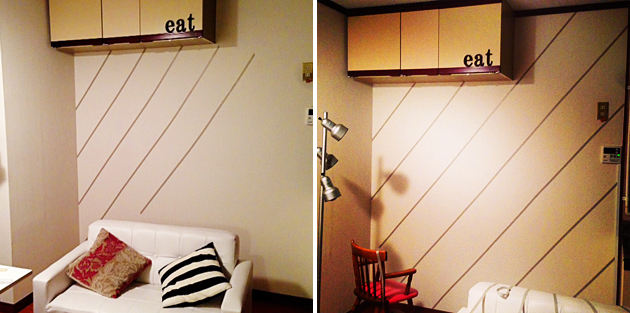
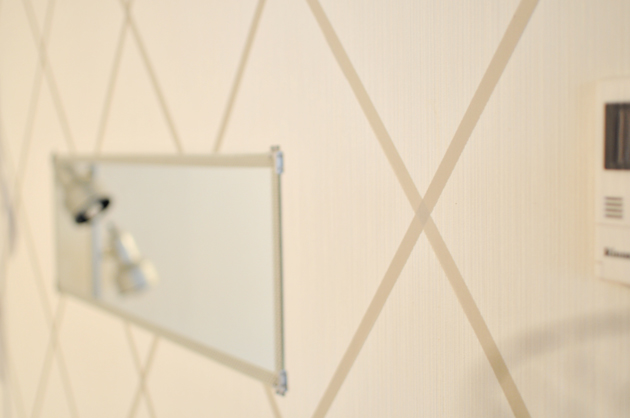
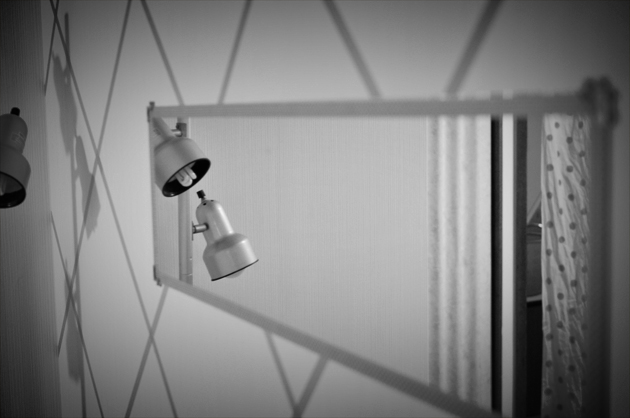
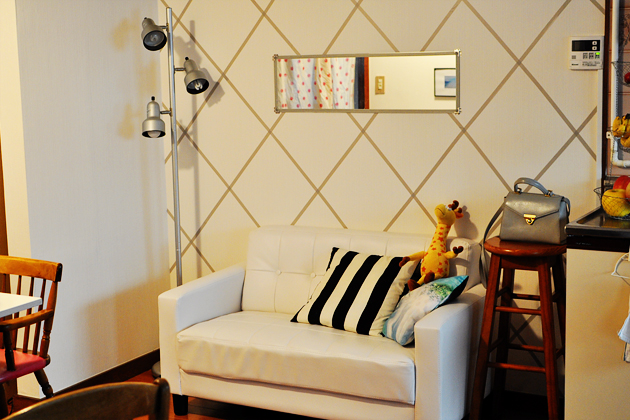
I used 4 rolls of gray washi tape. I have another black and white patterned tape, so I decorated the mirror with it and attached it to the wall for more source of lighting. Our first floor kitchen/dining area is dark, so anything to add brightness to the space is a plus.
I made those pillow case covers too! Do you recognize the fabrics (stripes and blue picture print)?

Lastly, based on this tutorial, I decorated my light switch plates. I love this little DIY. I think patterned washi tapes work the best for small spaces like light switch plates. 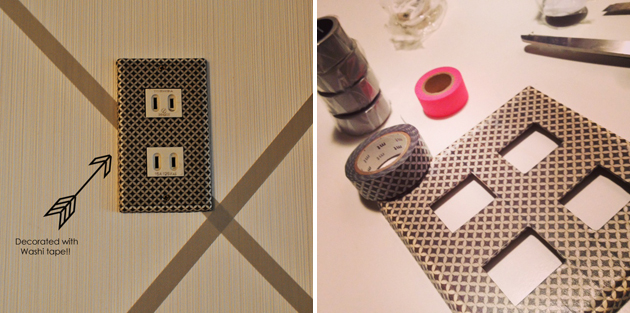

find me elsewhere: shop, facebook, etsy, twitter, pinterest}
