Hello Grosgrain readers! I’m Chie from Vivat Veritas, and I am happy to be able to share my creation for Grosgrain’s free pattern month. Grosgrain is one of my favorite blogs for sewing inspiration and I’m so excited to be part of it!
For my part this month, I am writing up a tutorial for a scallop waist skirt. I’m a big fan of scalloped edges in clothing. I was greatly influenced by 2010 Marc Jacob’s resort collection, seen here. The skirt is high waisted, and the upper part of the waist band is scalloped. I just had my daughter in April, and while I was pregnant, I wore a lot of jersey dresses and baby doll style dresses. I love dresses, so it was fun, but I did miss wearing some separates. Now my bump is gone, I’m all about wearing clothes that mark the waistline! 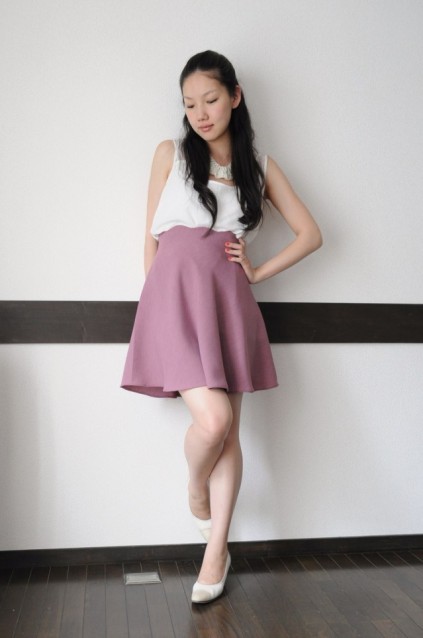
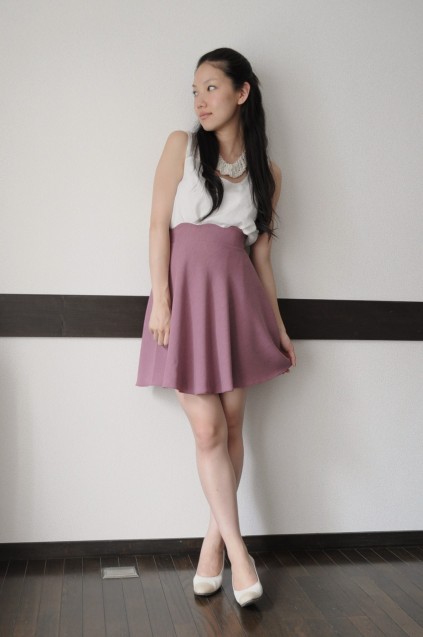
This was my first time making a PDF pattern, so if anything is unclear or if you have any suggestions, please contact me through my blog🙂
Pattern printing instructions:
Download the pattern here (vv scallop waist skirt pattern)
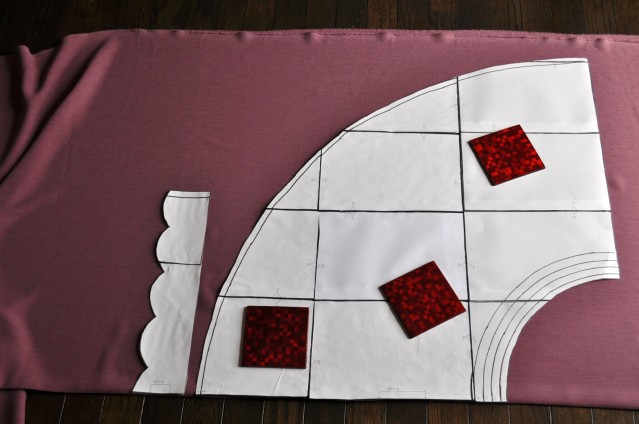
The pattern should be out on 15 sheets with a thin frame. The pattern is set for printing on A size4 paper. The 15 pieces will fit together and can be glued or taped together according to the triangle signs (1a, 1b, 2c…etc). ½”. Seam allowances are included, except for the top of the waist band (scalloped edge part) which has ¼” seam allowance.
Materials:
❤ 1-2 yards of fabric. I recommend using a fabric that is a medium weight polyester or rayon mix. I would avoid fabrics that are easily wrinkled (such as 100% cotton), very light and/or very heavy weight materials and jersey type fabrics that have significant stretch.
❤ 9” invisible zipper
❤ Thread
❤ Fusible (iron-on) interface for waist band
Cutting Instruction:
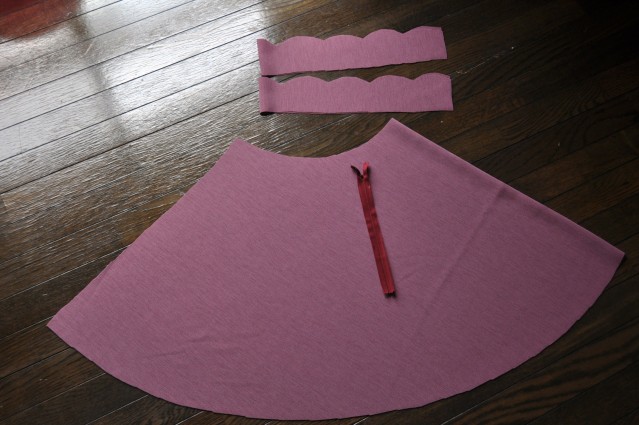
❤ Waist band – Cut 2 with center folded
❤ Skirt piece – Cut 1 with center folded
Sewing Instructions:
- Cut 1 fusible interface, center folded for waist band. Cut the interface ¼” smaller on top, and ½” smaller on sides and bottom.
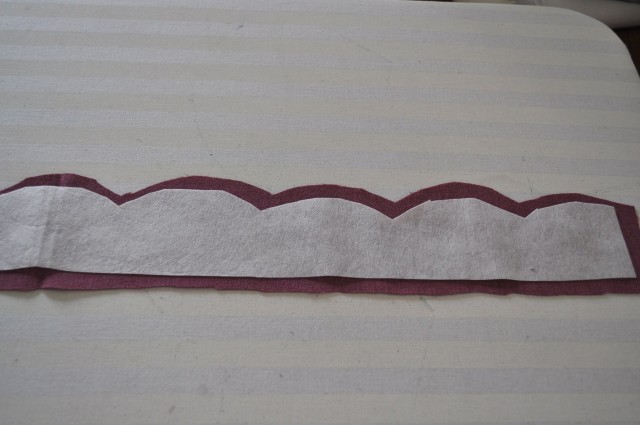
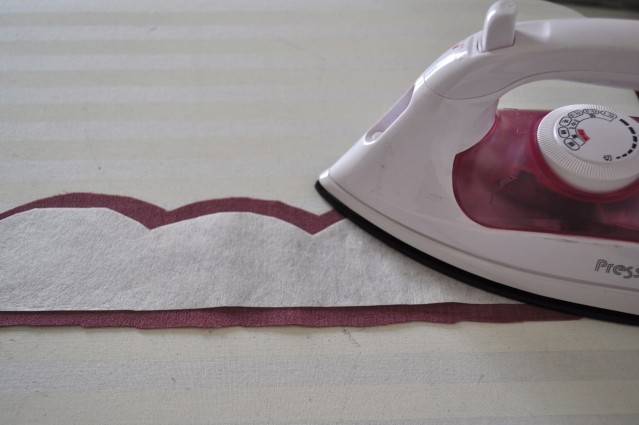
- Iron the interface on one of the waist band pieces (you only need one interface piece).
- Pin the bottom line of the waist band with interface and and the top line of the skirt piece with right sides facing together. Sew the waist band skirt piece together.
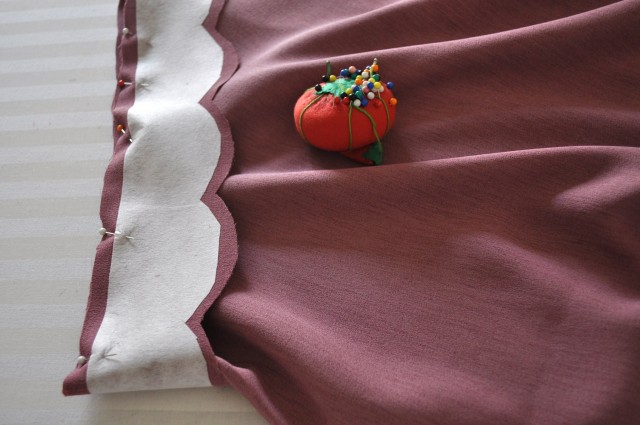
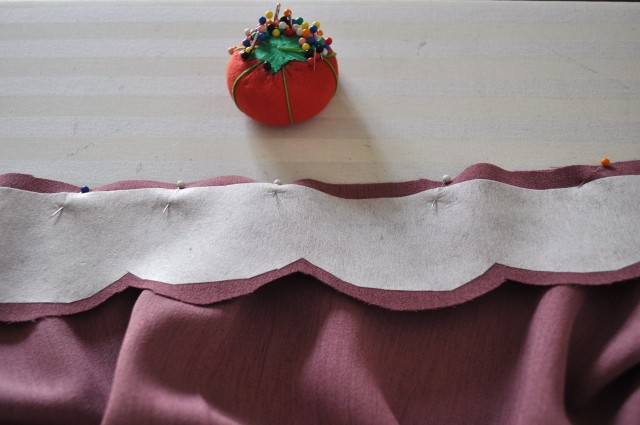
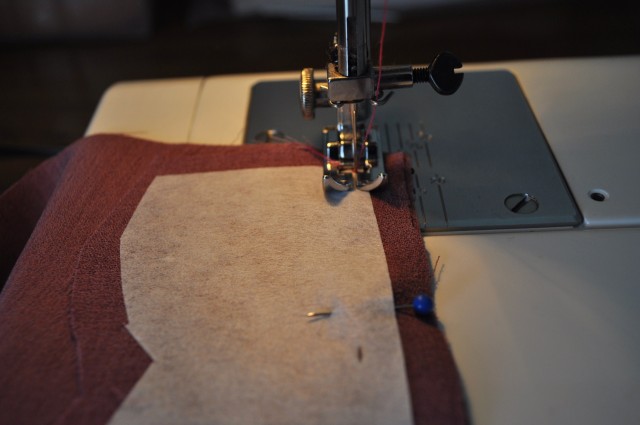
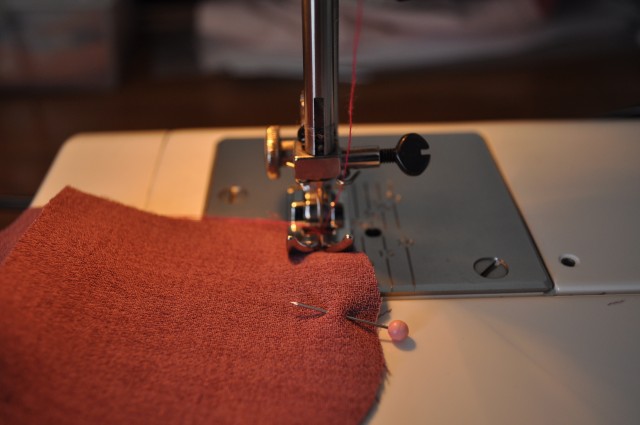
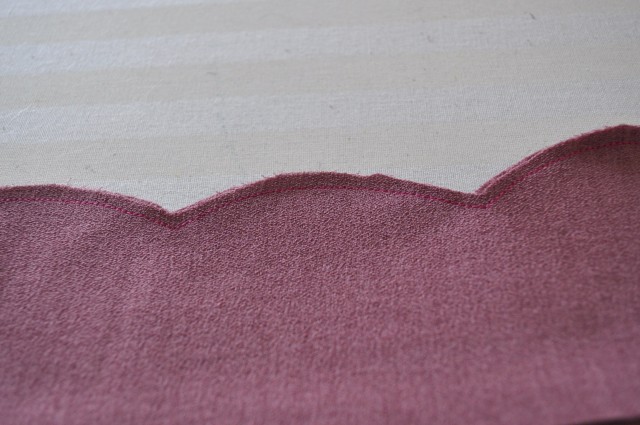
- Place the other waist band (the one without interface) on the waist band with the interface with right sides facing. Pin, and sew the top of the waist band, where the scalloped edge is.
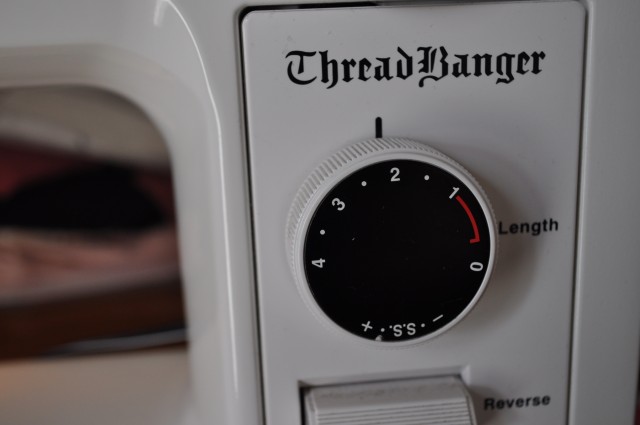
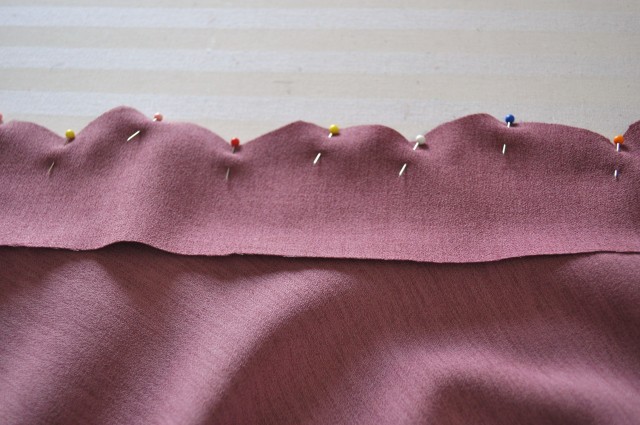 Use a smaller stitch choice of your sewing machine, so you can skip clipping the curves. I used stitch setting “2” on my sewing machine.
- Turn the waist band inside out, so the wrong sides of the waist bands are facing.
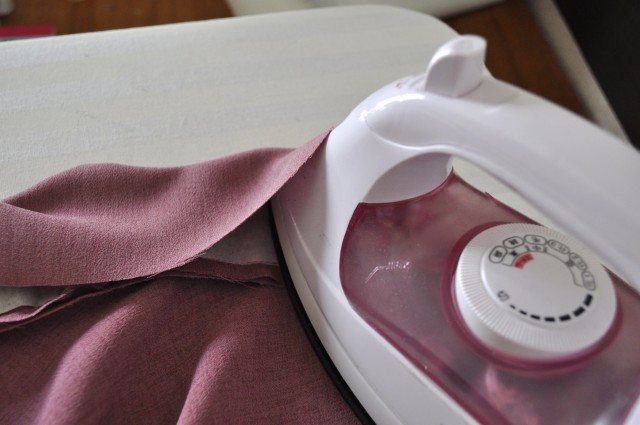
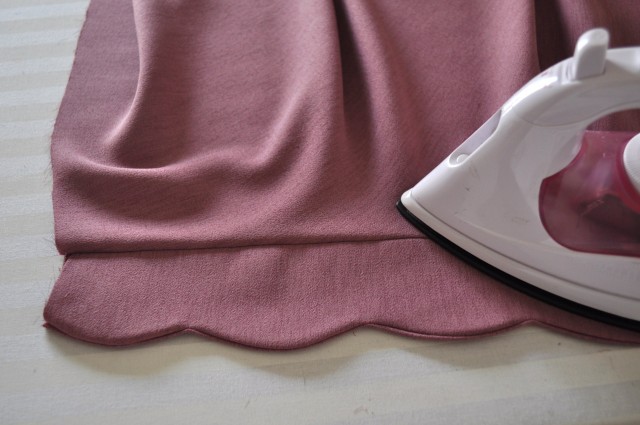
- Iron the waist band. First iron from the inside of the waist band (wrong sides of the fabric), and then press the scalloped edge from the right side.
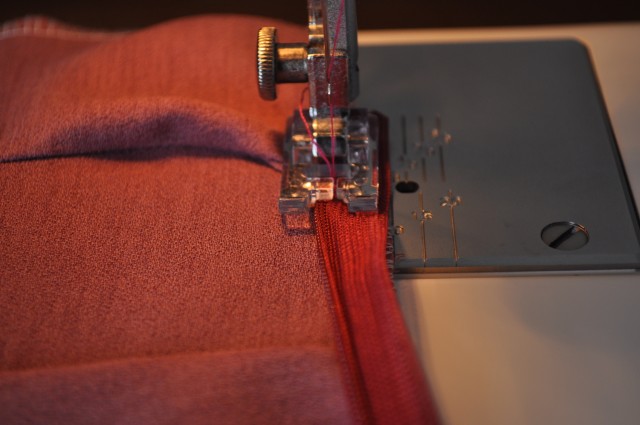
- Sew in an invisible zipper. Place the zipper from the top of the waist band and sew, using an invisible zipper foot. Then sew the rest of the side together.
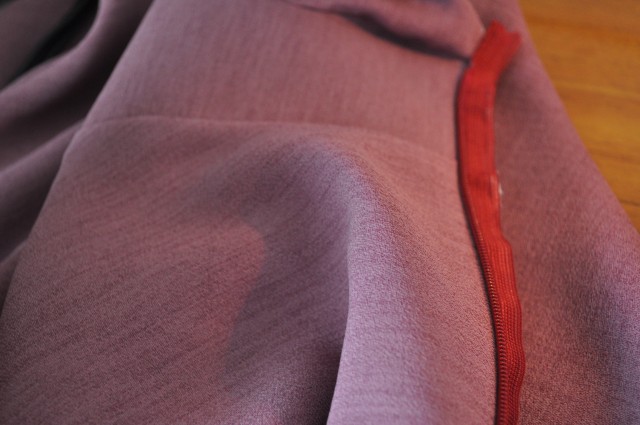
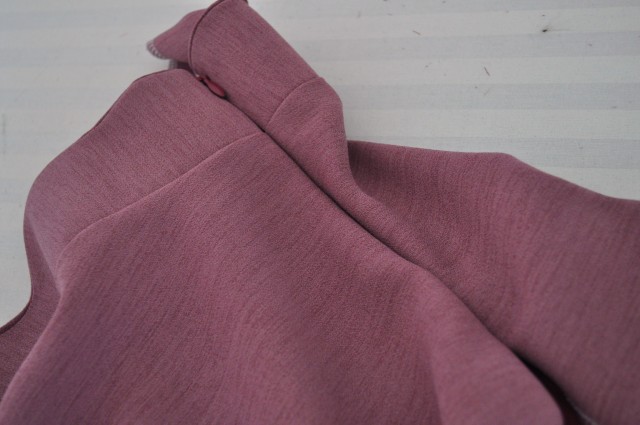
- Pin the end of waist band (without interface), excess of the zipper, and the other waist band (with interface) together, and sew to the bottom end of the waist band.
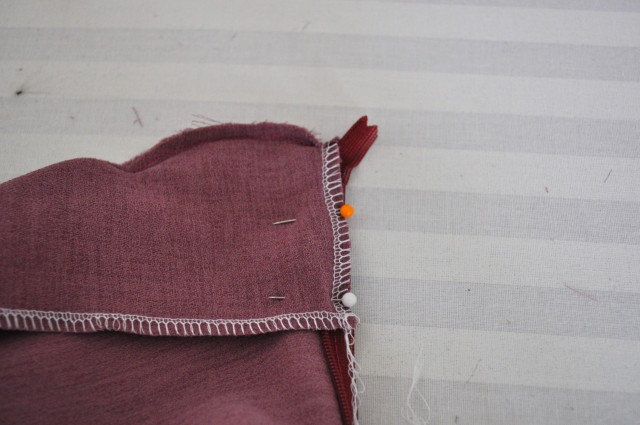
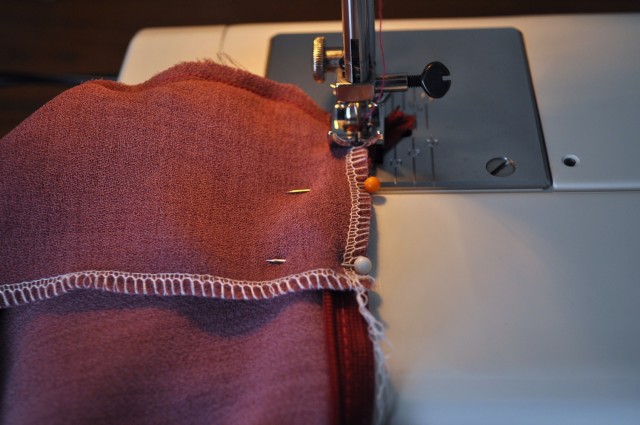 Turn the waist band inside out.
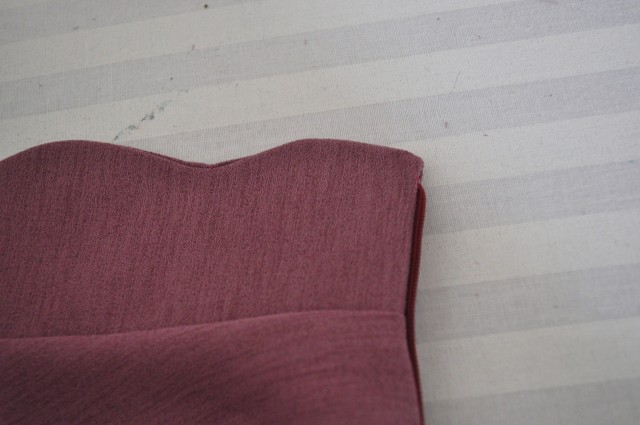
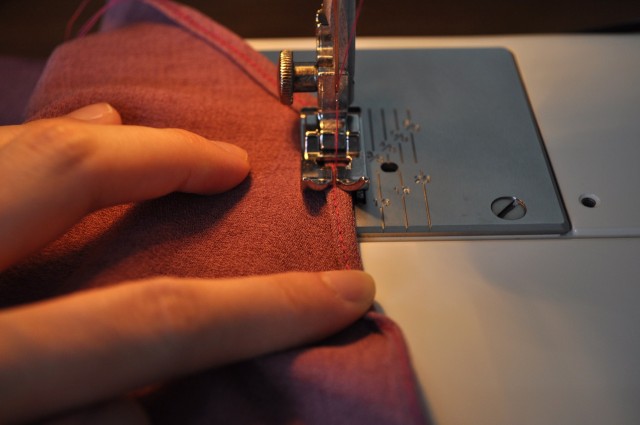
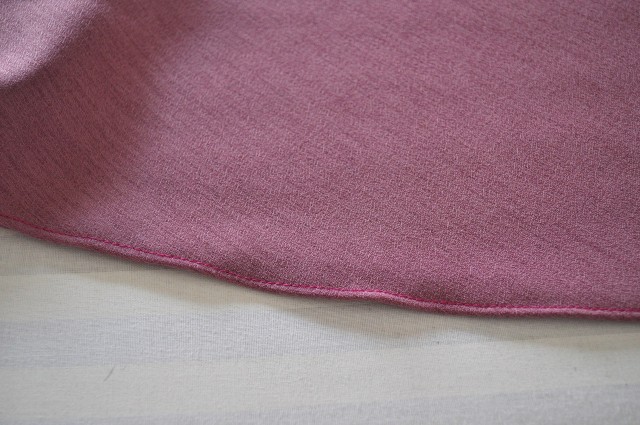
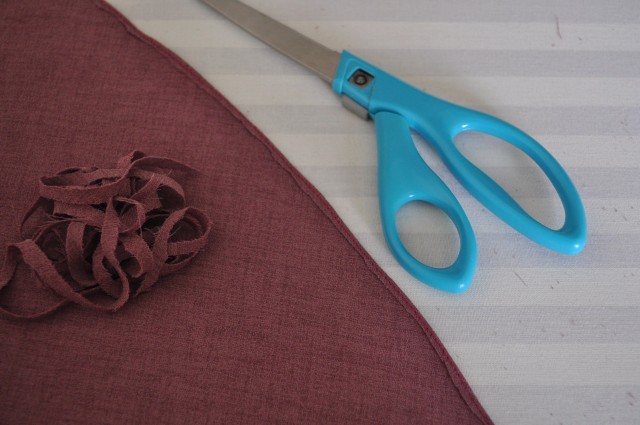
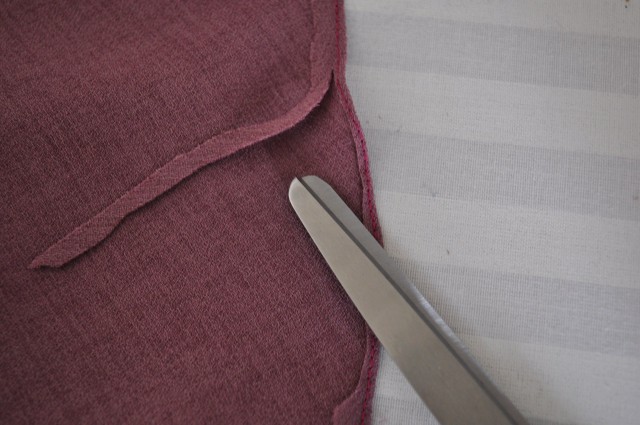
- Hem the skirt. For this half circle skirt, I think narrow a hem (or baby hem) works the best so we won’t have to deal with easing in the fullness on a wider hem. Fold ¼” from the hem line and stitch the outer edge.
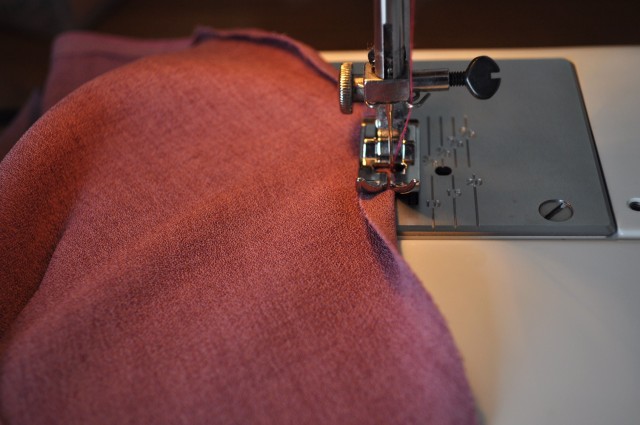
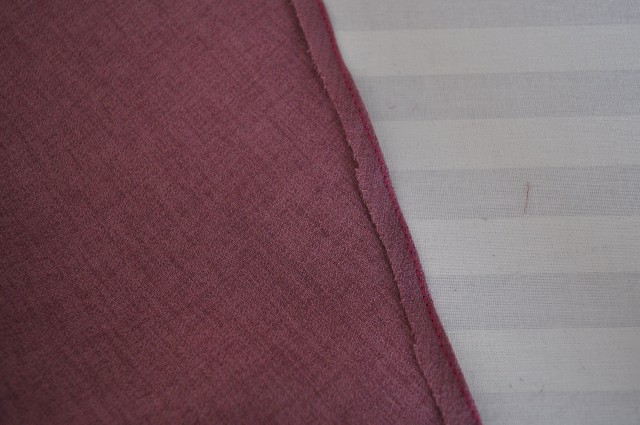 Clip the excess fabric. Fold again for ¼”, and iron.
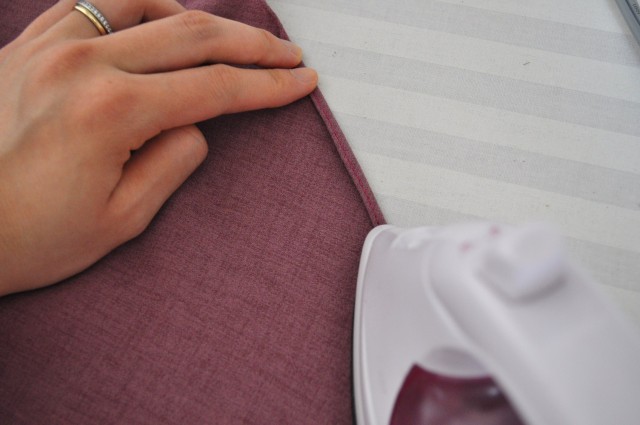 Then top stitch on the stitch you just sewed.