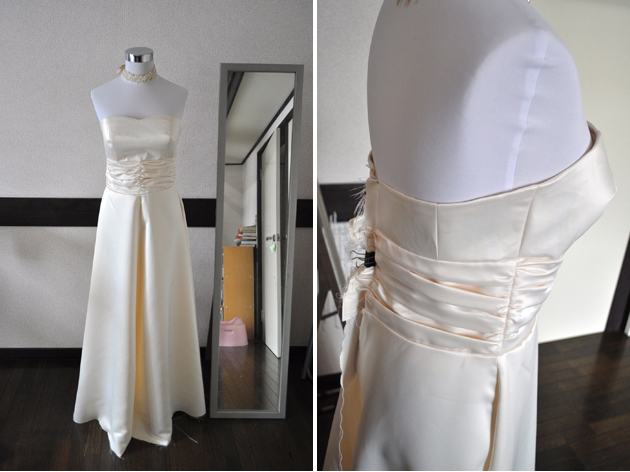
So I secretly felt relieved when my friend did not ask for dramatic trains or super puffy skirt. I’ve never made those, and I would be very nervous to try it for the first time on someone’s wedding dress. My friend decided on a dress that was simple, flowey, and easy to move around in. Since the dress I’m making is for her afterparty, she really emphasized her desire for mobility. I wouldn’t want to be dragging a long train at a restaurant/bar type place either. I suggested that we do simple half circle dress. I thought it would go well with the big “balloon bow” we were going to add to the back of the dress. She loved the idea, and the muslin of the skirt I made for her. It worked out pretty well for me as well, since I’ve already drafted a pattern for half circle skirt for Grograin‘s free pattern month (free scallop waist half circle skirt pattern is here).
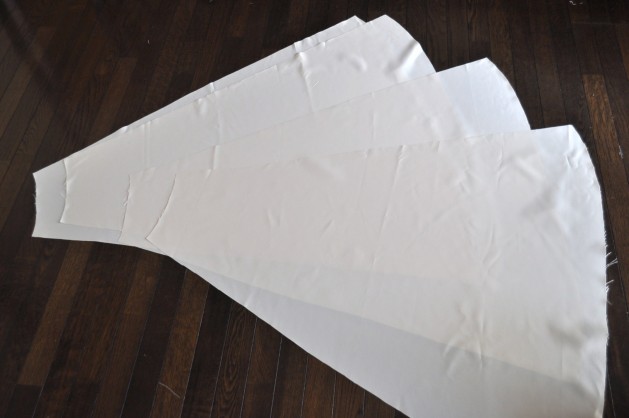
Because of the length of the skirt, I had to separate the skirt pieces in four. My Grosgrain half circle pattern can be cut out as one piece, because the length is short, but for a floor length dress, I had to separate them.
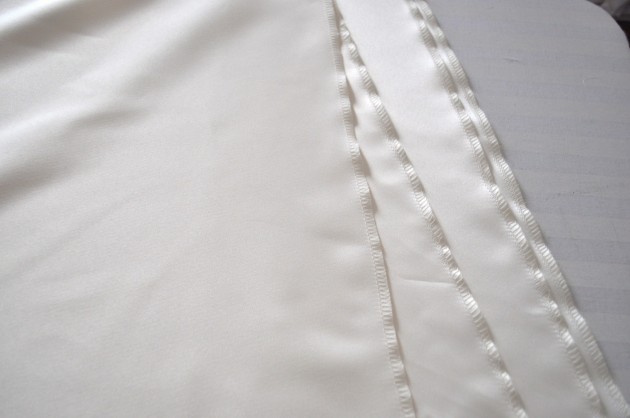
This satin fabric sheds like a dog! I had to sweep the floor multiple times everyday. It got really frustrating working with this fabric so for the skirt pieces I overlocked the edge, even though I didn’t have to, since it was going to be lined. This extra step made my sewing time much easier.
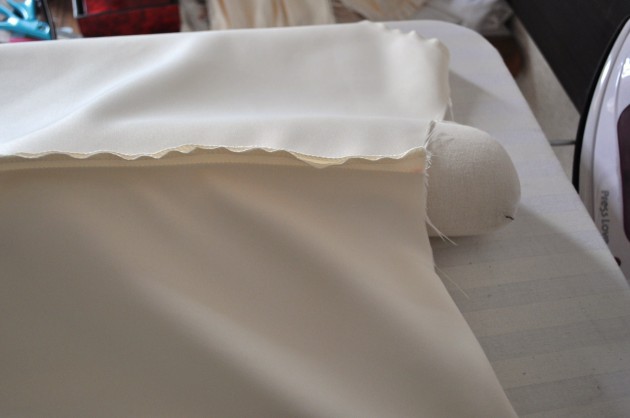
I ironed the seam allowances open. This thing became really handy..I’m not sure what you call it in English, but in Japanese, it is called “Sode Manjyu”, which means “sleeves steamed cake.” It’s different from a Taylor’s ham, it is longer..anyone know what you call this in English?
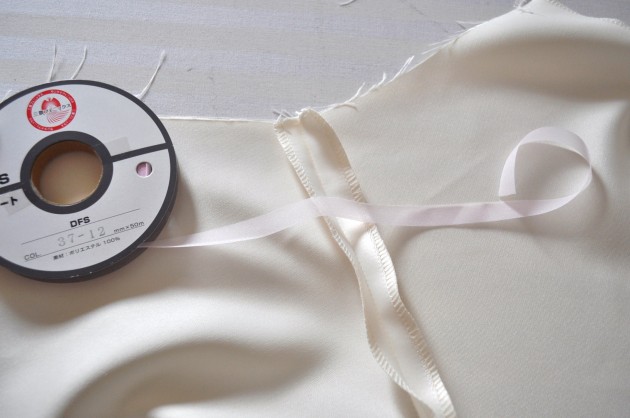
Now that the four pieces were connected and became a big one skirt piece, I added an iron-on interface tape to prevent the waist skirt line from stretching too much. Although the fabric did not have any stretch, the fabric was cut in bias so I wanted to avoid the measurements changing because of the possible stretch.
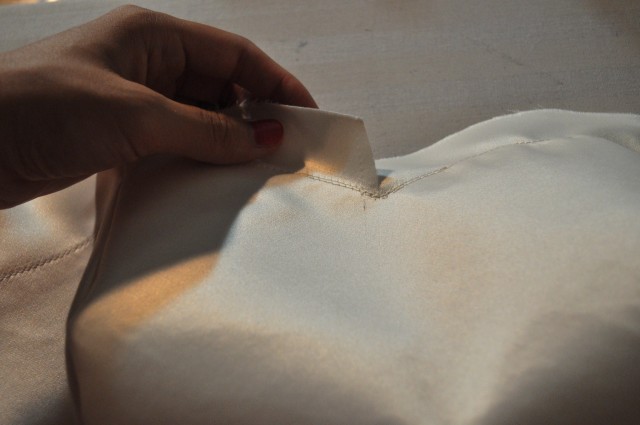
I made sure that the seam lines of the bodice and those of the skirt piece matched up. It would be terrible if they didn’t… I pinned the bodice and skirt pieces together and sewed the places where the two seams matched first. Then I sewed together the two pieces. That way I knew for sure that the seams would match and by doing it this way I was able to avoid re-sewing the entire line because of possible mismatches.
Tada! Now it looks more like a wedding dress! Next, I need to install a zipper 🙂
Read my progress on sewing wedding dress! :
Part 1 – Fabric shopping
Part 2 – Muslin
Part 3 – Another Muslin
Part 4 – Cutting Fashion Fabric
Part 5 – Sewing the Bust Part
Part 6 – Ruching

