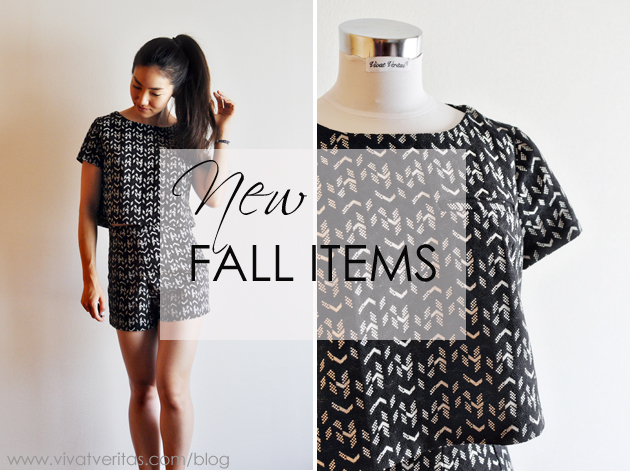
Just added a few new items on Vivat Veritas Shop! I’ve been experimenting a new platform, Creema. It is a handmade marketplace based in Japan. It’s similar to Etsy but the scale is much smaller so it feels like what Etsy used to be back in 2009-2011 before it became a gigantic market place. I’ve sewn up these with some leftover fabrics so all of them are one-of-a-kinds.
Tweed top and shorts set (Creema)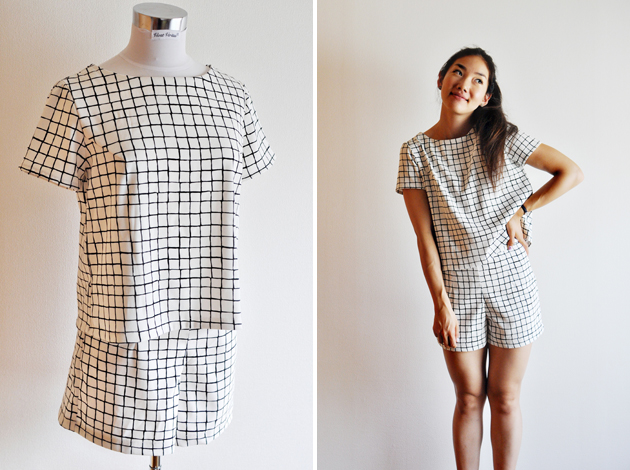 Plaid top and shorts set
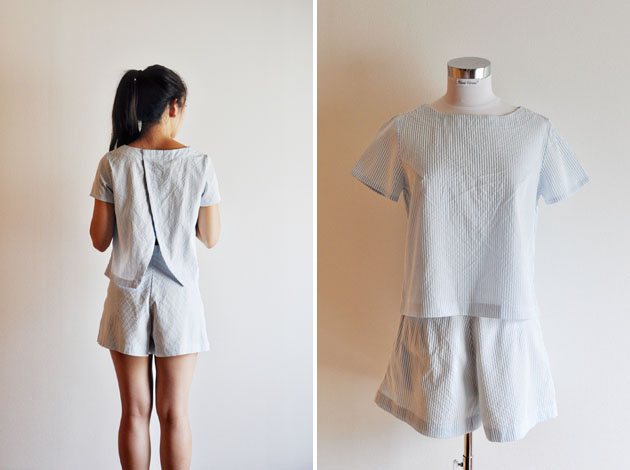 Seersucker top and shorts set
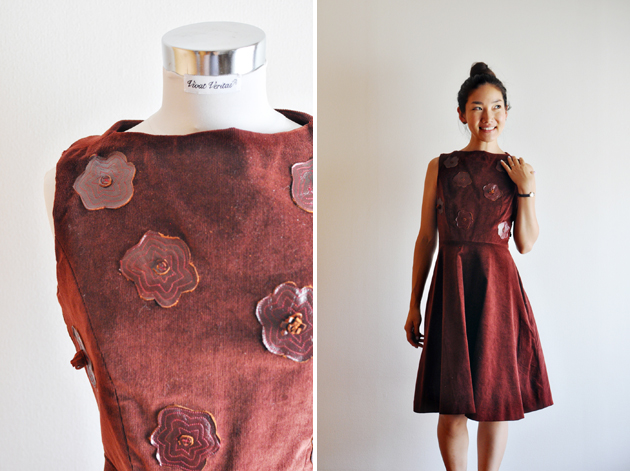 Wine red corduroy dress
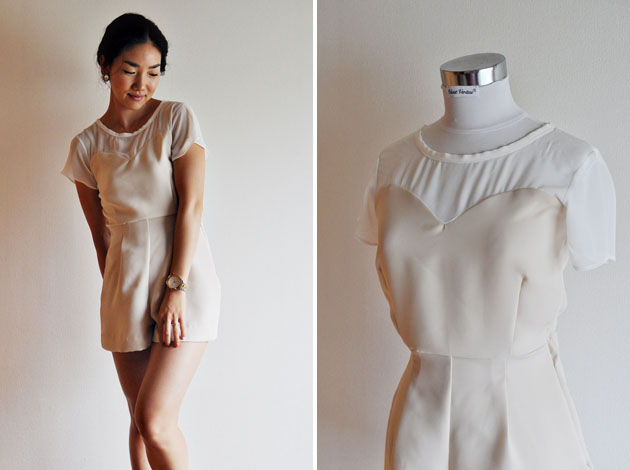 Cream romper
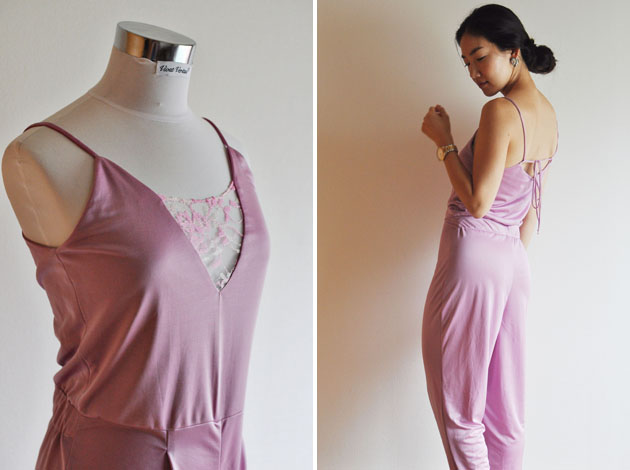 Pink jumpsuit with lace insert
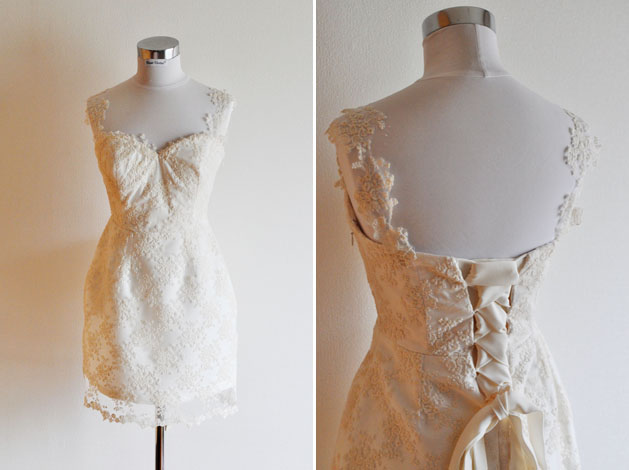 Ivory lace mini wedding dress
 Find me elsewhere:


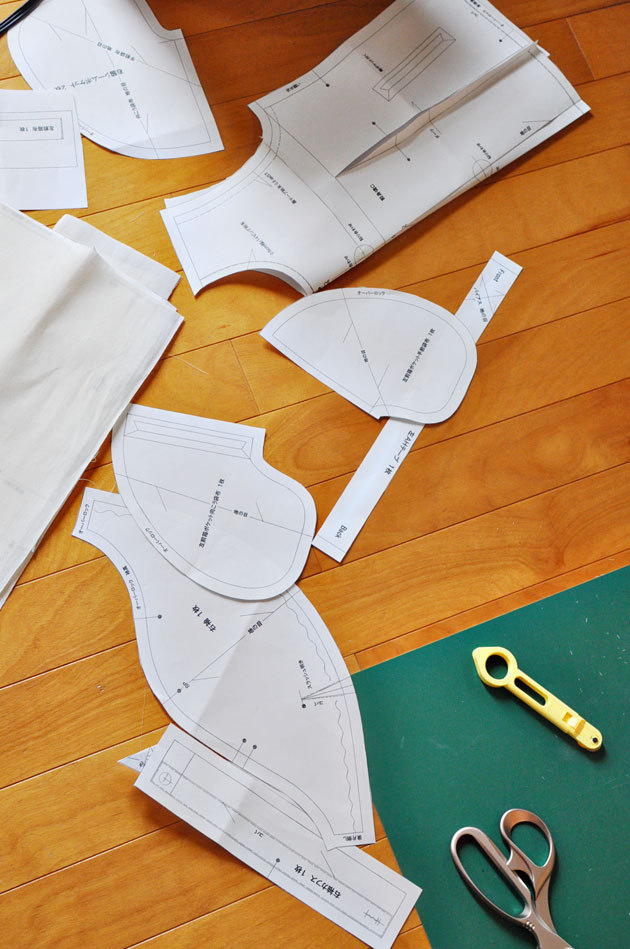 Several typhoons have hit Japan this past month. It has been raining non-stop. Although I long for a dry sunny days to be out and about, when it rains like this I try to take the opportunity to stay in, sew and listen to podcasts. Today I listened to
  Last year when I visited Philadelphia, I stopped by at
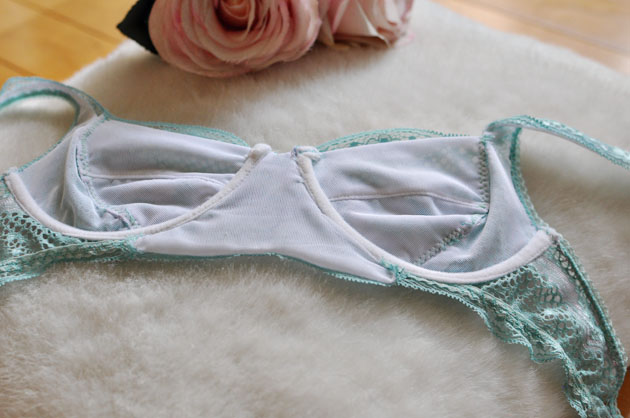
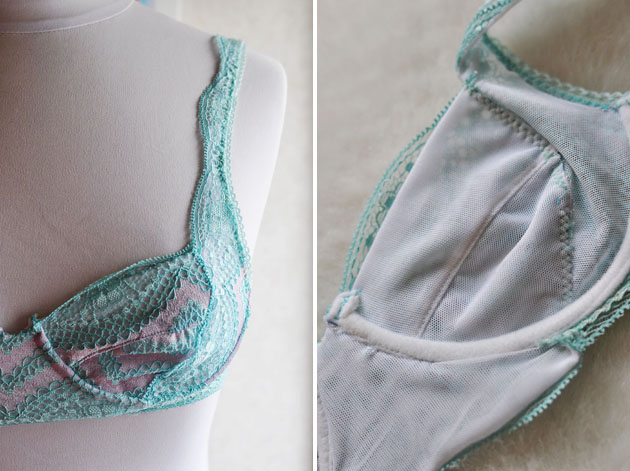
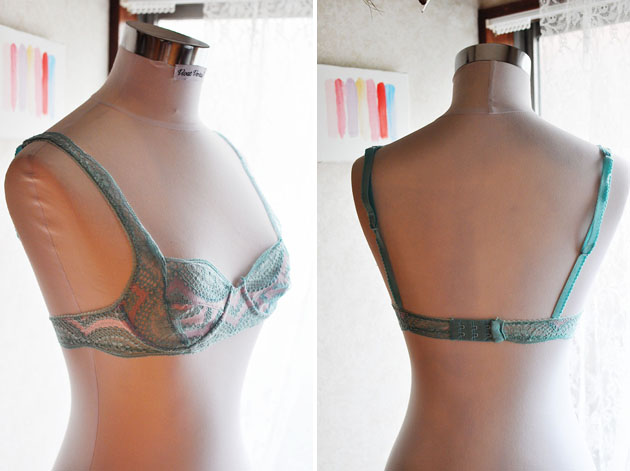 Here is a short video showing my bra.