How to Make a Jewelry Holder (to prevent the necklace from tangling)
With the Holiday season approaching, I’m decided to share an easy DIY using fabric scraps! I always have a lot of left over fabric from making kimono dresses. Even though the scraps are small, I have hard time parting with them because I know they are one-of-a-kind as well as high quality silk. What to do? After some thinking I came up with a great idea…a portable jewelry holder. I am going back home for a few days at the end of the year, and am planning on carrying this with me. I wear a lot of jewelry (at least 6! See the proof here) and I don’t want them to get lost during my trip. This jewelry holder is also great as a gift or stocking stuffer.
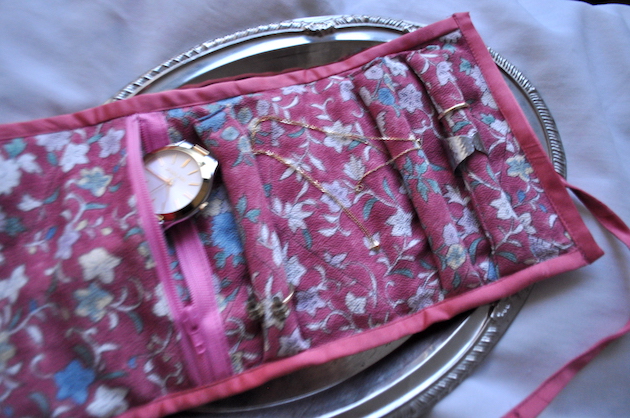
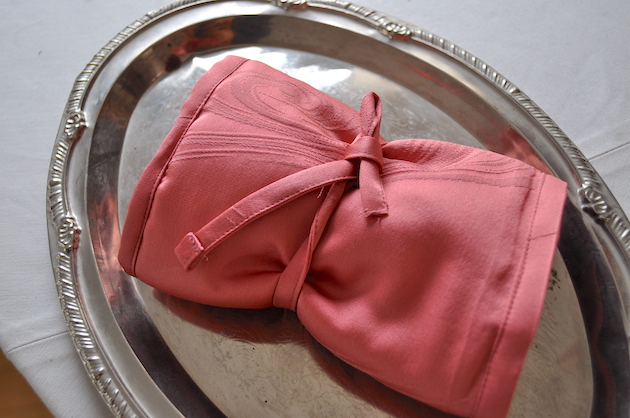
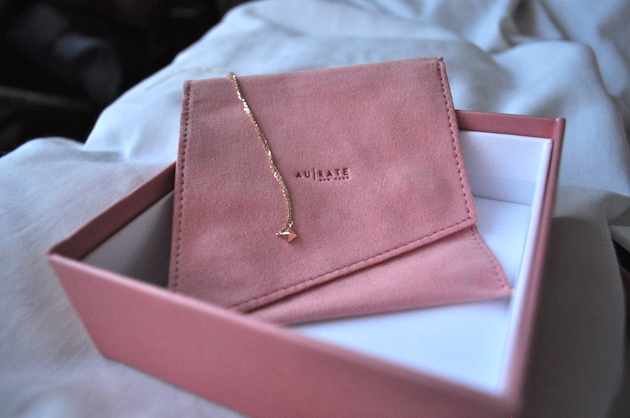
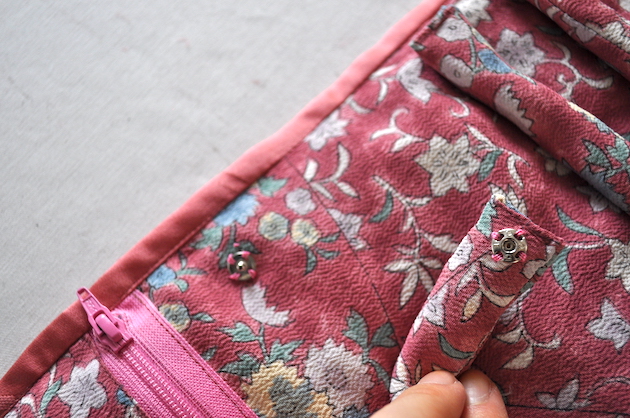
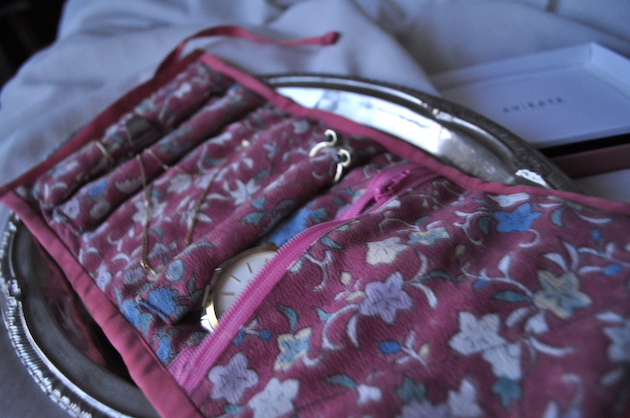
The snap buttons keep the necklaces from getting tangled. In this picture it is holding my recent addition from AU-RATE gold necklace.
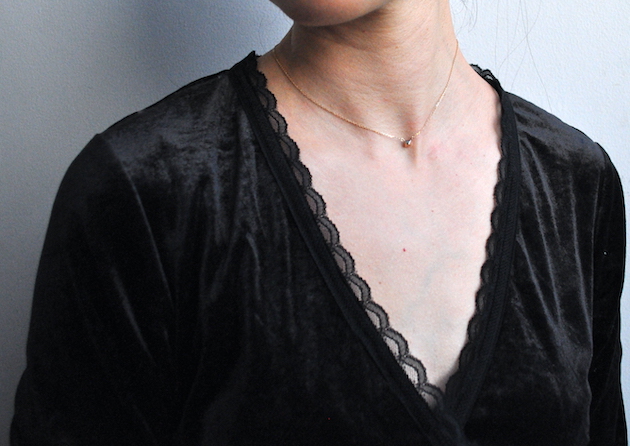
I’m wearing a Mini Charm Pyramid Necklace in 14k with H&M velvet dress I thrifted and added lace trim to it.
What you need:
– Fabric
– Thread
– Snap buttons
– Quilt battings
Cut fabrics according to the following measurements:
– 15cm x 32cm x 2 (face fabric and lining for the jewelry holder)
– 15cm x 13cm x 1 (zipper pocket)
– 15cm x 6cm x 3 (ring and necklace holders)
Cut quilt batting according to the following measurements:
– 15cm x 32cm x 1 (sandwich it between the face fabric and lining fabric)
– 15cm x 5.5cm x 3 (this goes inside the three ring and necklace holders)
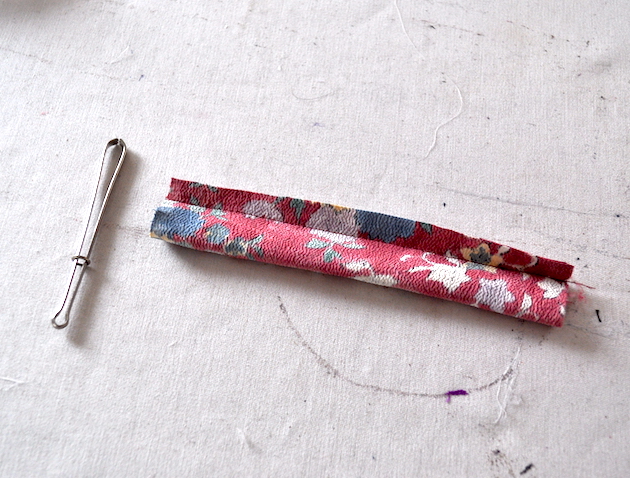
- Sew the 15cm x 6cm ring and necklace holders, inside out using 1cm seam allowances. Then turn them inside out using bodkin.
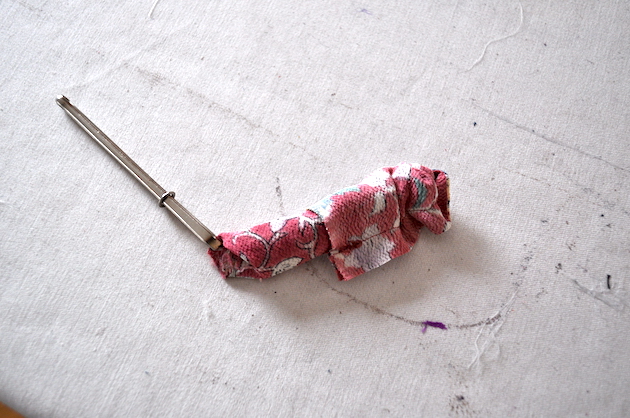
3. Put 15cm x 5.5cm quilt batting for the ring and necklace holder to add some padding. It is easier if you do this using a bodkin.
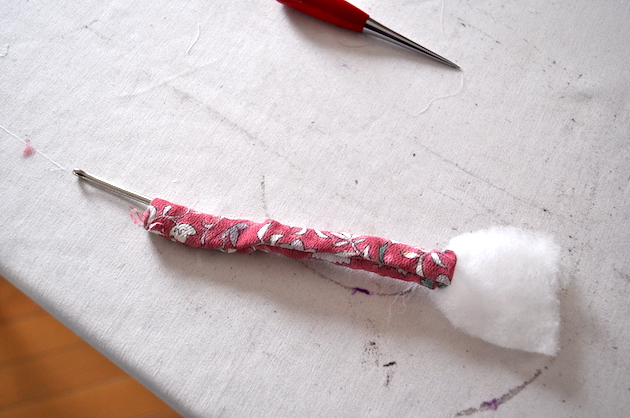
4. Sew one end of the ring and necklace holder (the raw edges will be covered by a strip of fabric later). For the other side, enter the rough edges inside and then sew. On this side, we will attach snap buttons for closure.
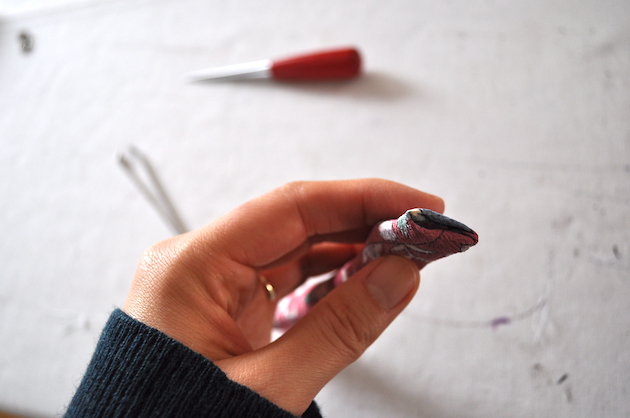
5. Make three of the ring and necklace holders.
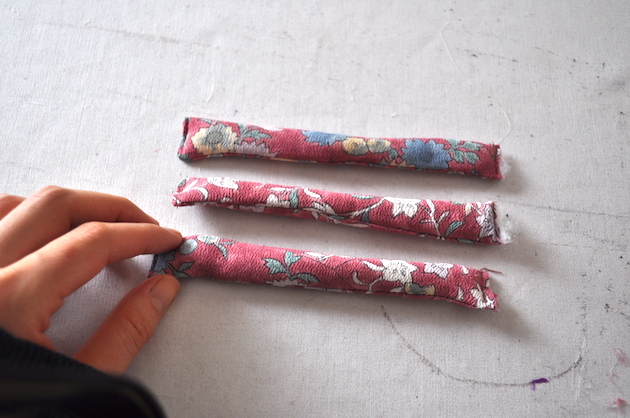
6. Sew pocket. Fold the edge of the pocket fabric with 1cm seam allowance and press. Place it on top of a flat knit zipper, and sew.
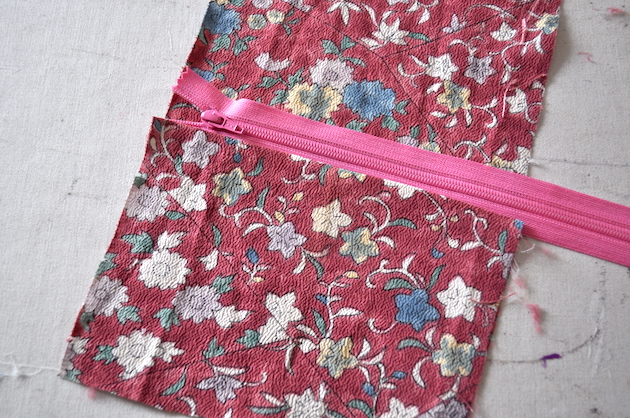
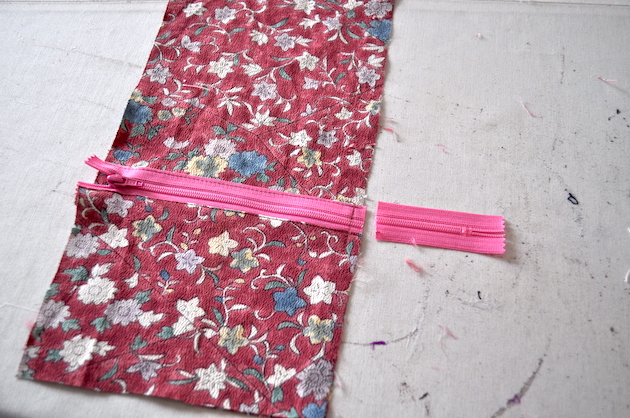
7. Attach the other side of the zipper tape directly on the lining fabric as shown below. If the zipper is too long, cut it.
8. Sandwich the quilt batting with face fabric and the lining with zipper pocket. Baste it around with long (3mm) stitches.
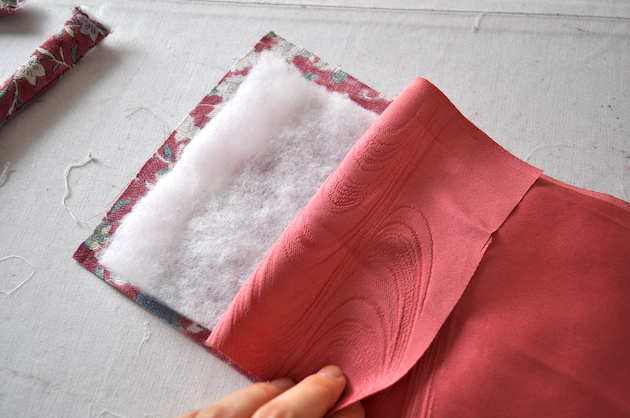
9. Attach the ring and necklace holders on one side. The other side with finished edges will be left loose, as you will be attaching snap buttons. I placed two holders on top, and another one closer to the zipper pocket.
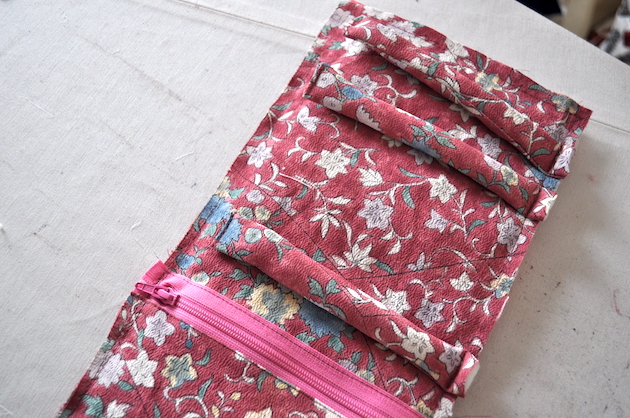
9. Cut fabrics according to the following measurements:
– 3.5cm x 32cm x 2 ( used to finish the side edges of the jewelry holder)
– 3.5cm x 17cm x 2 (used to finish the top and bottom edges of the jewelry holder)
– 3.5cm x 20cm x 2 ( used to make tie straps)
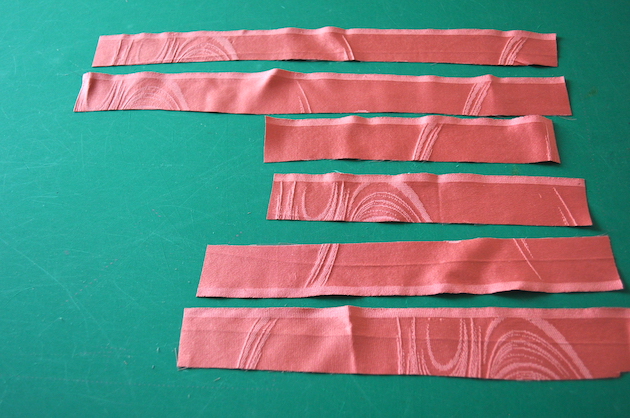
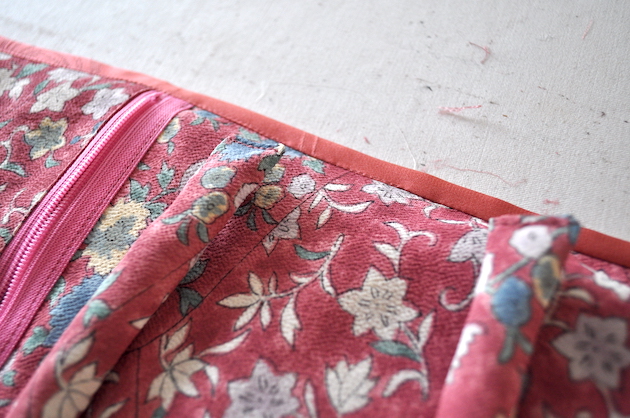
10. Using those fabric strips, finish the edges all around. Attach the tie straps so you can fold the folder twice and secure it with the straps.
11. Attach snap buttons on the loose ends of the ring and necklace holders.
*This blog post is in collaboration with Nakturnal.
 Sewing BurdaStyle Coat 116 Part 2
 Mommy’s Diary 40: Making a Tradition 2
 Cozy knit items
 Sketch Everyday 3
eimear says
thank you for sharing, beautiful make
Chie says
Thank you!