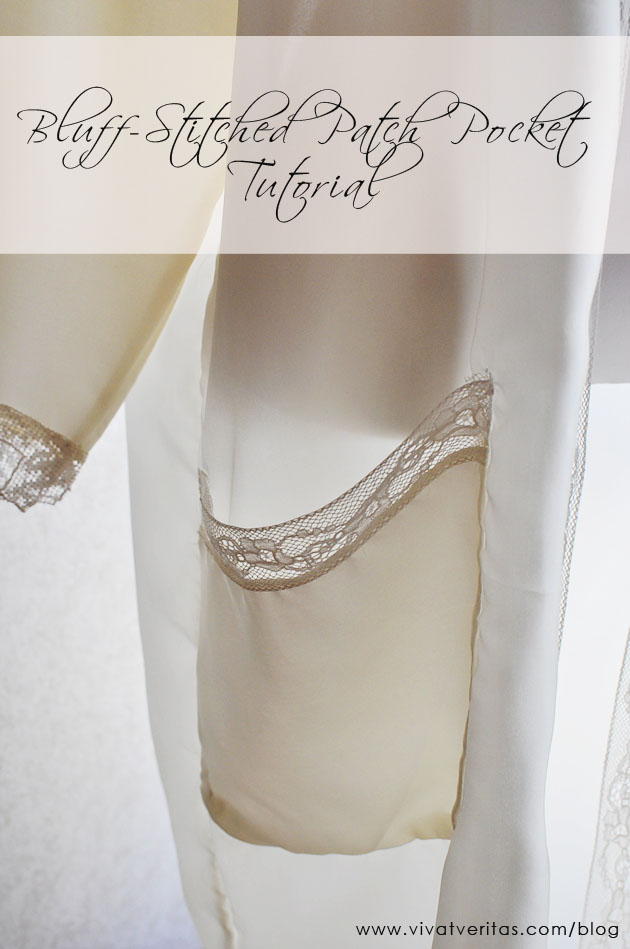
I recently had an opportunity to make a slew of “bluff-stitched” patch pockets. I snapped some photos during the process to make a quick tutorial. “Bluff-stitched” means the pocket is attached without top stitching showing on the front of the pocket. It looks neat and expensive. It takes some extra steps, but well worth the effort!
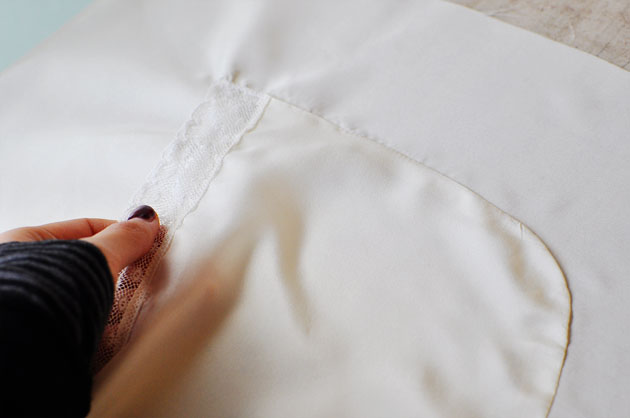
Mine is single layered (no lining) with lace trim at the opening.
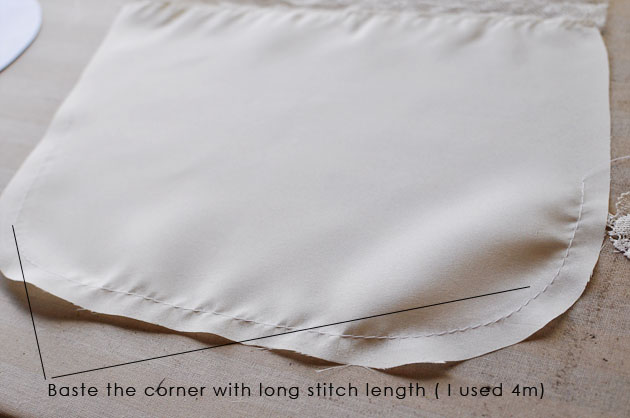
First, cut the pocket fabric and take care of the pocket opening. I added the antique lace trim on mine. Then baste the corner if you have a rounded corner. If you have a pointed corner, you can skip this step.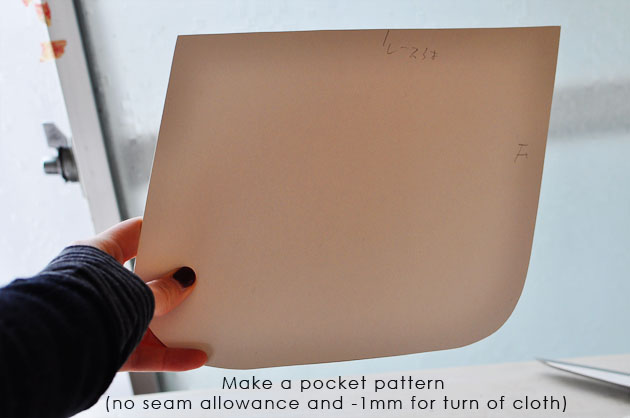
Using card stock paper, make a pattern for the pocket. This is used to make perfectly rounded corners. If you make it, do it without seam allowances and -1mm for the turn of cloth. Or, you can use a neat metal tool like this if the curve fits your pocket’s.
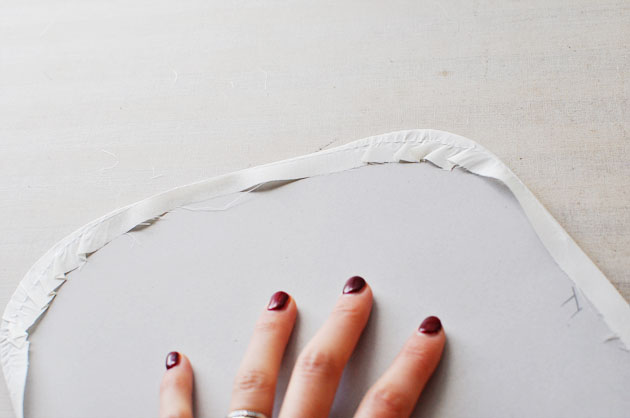
Using the paper pocket pattern you made in the above process, pull the basted seams and press the seam allowances inward. 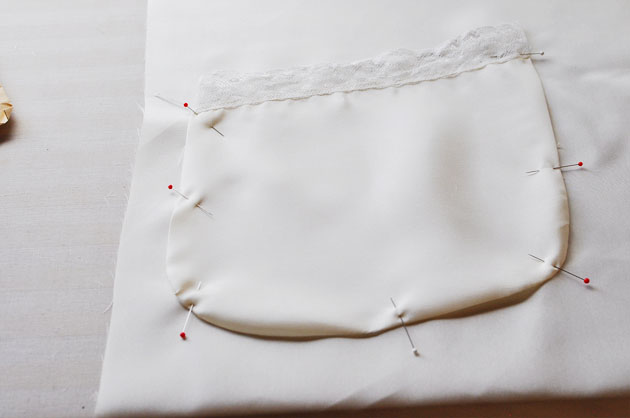
Pin the pocket to where you want it to be attached. Since I was making this with white silk, I thread-marked the pocket placement so there is no chance that I would ruin the fabric.
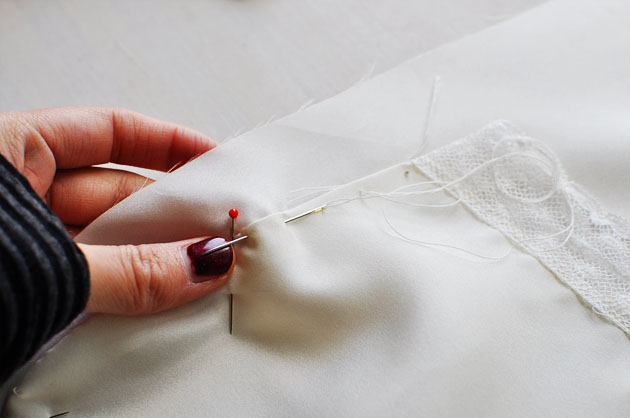
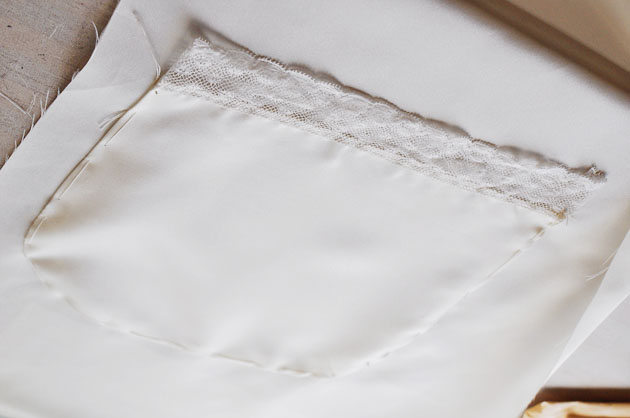 Hand baste the pocket. I basted as close as possible to the edge. This will make machine sewing easier in the next step.
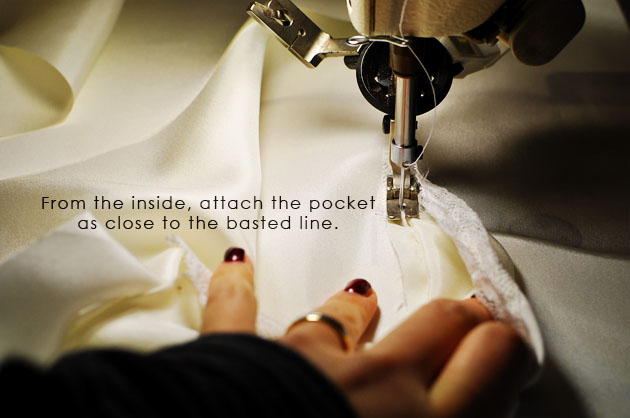 From the inside, attach the pocket as close to the basted line. It gets tricky at the curved corner, but sew slowly using a pointy tool to open up a way for the stitches. Once you are done, take off the hand basted thread an press.
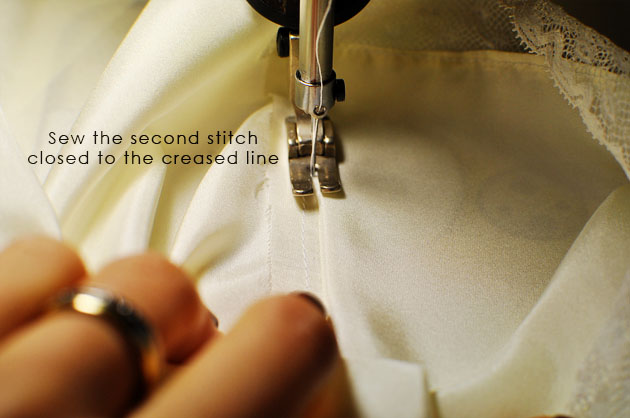 You will be sewing the pocket for the second time, this time as close to the creased line after the press.
 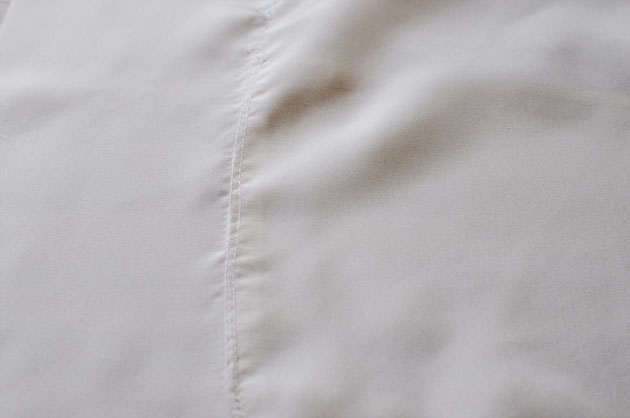 This is what it looks like from the wrong side of the fabric. Two stitching lines in parallel.
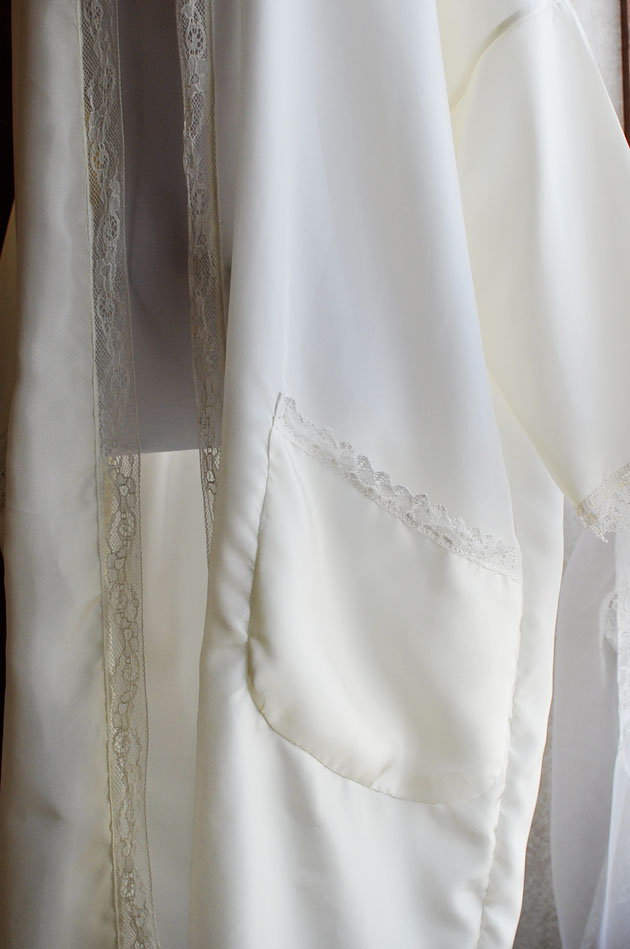 Bluff-stitching pockets are elegant and make your handmade garment look expensive! If you are into pockets as much as I am, check out my bellows pocket tutorial as well.
Want more post like this?
Get it in your inbox, once a month. Check out my previous newsletters to see if you would like one.
コバステッチなしのパッチポケットの作り方です。
外側から見ると、「どうやってついてるの?」って思うかも。
一瞬でお洋服を格上げしてくれるポケットだと思います。
コツはめんどくさがらずに手でしつけすることです。
そのあと、内側から2度縫い、仕上げます。
 Video:: Silk Painting
 Create Your Style Magazine Giveaway – Closed
 Shop Update – Easter Cupcake Dress
 Video:: Twisted Hair Up-do Tutorial
Thewallinna says
It does look expensive indeed! 🙂 Very neat job! I plan to make a gown for a friend, so this tip is extreamly helpful! I also like how you added the lace trim. May steal this from you too.
Chie says
Oh yay! Glad this was helpful!