Hello! I hope everyone had a nice and relaxing weekend! I went back to my parents house for the weekend. My mom, Kiko and I visited my grandmother, who lives an hour away from my parents. It was my grandma’s first time to meet her first great grand child, so I was happy that they were able to meet. While I was staying with my parents, I started on my first quilting project! Yes, I am making a quilt! Call me grandma. I used to make fun of my dear friend, who is super fashionable but also loves quilting for being “grandma”. But now I’m obsessed with my new quilting project. I’ve collected several images as inspiration. Anyhow, I will write more about my first quilting project soon.
So back to the wedding dress! Last time, I attempted (and failed) to install an invisible zipper. So I skipped the zipper part for now until I get a new zipper, and install the bones. At the same time, I worked on the skirt lining.
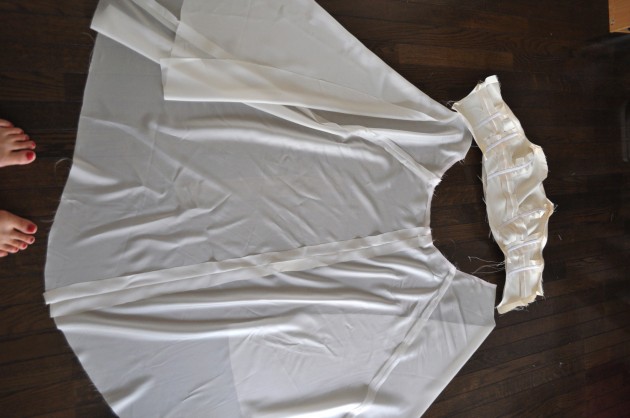
For skirt lining, I used the same skirt patterns (half circle skirt, separated in four different panels). The fabric I used was cupra. My bride friend and I were recommended to use that fabric for wedding dress lining. I was pretty satisfied with the selection. It is light weight but does not cling to your legs in bad way like polyester linings do.
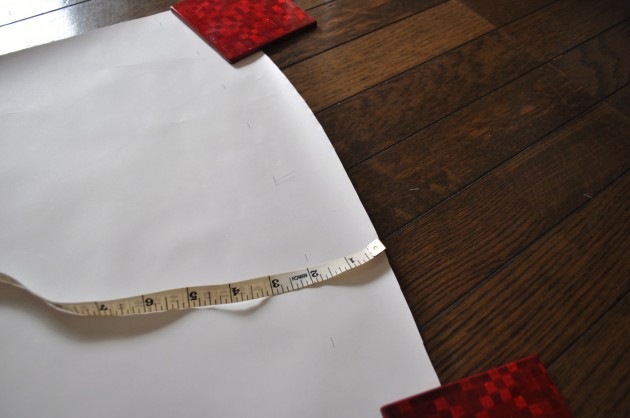
To cut the skirt lining fabrics, I shortened the length of the skirt patterns for 2″. The sewing part was really easy. I just sewed straight lines, and I was done!
I went to Okadaya in Shinjyuku to get some additional supplies for the wedding dress: flat knit zipper, horse hair braid, grosgrain ribbon for waist band, pearls in two sizes, rhinestones, and new zipper foot for installing flat knit zipper. I think these cost about 7000 yen (80 dollars) in total. 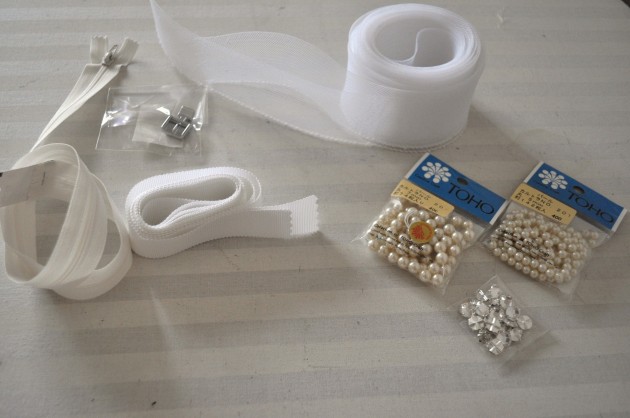
Before attaching skirt lining, I installed the zipper in the center back. This time, it went much smoother, and the zipper didn’t break! Thank God.
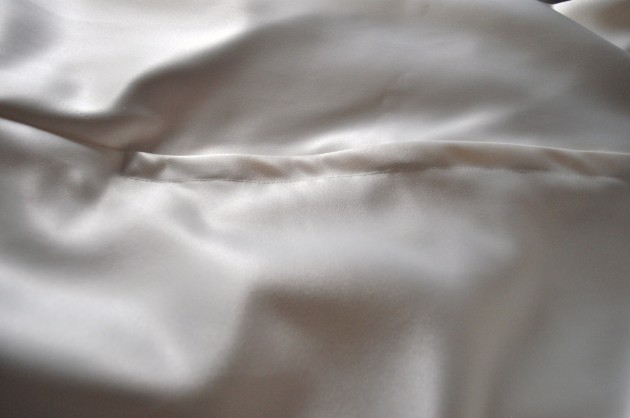
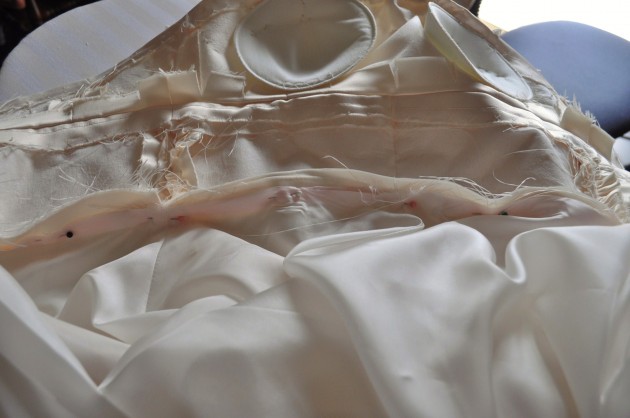
After the zipper, I pinned and sewed the skirt lining to the seam allowances of the wedding dress fashion fabric.
I also hand sewed the bra cups. I was deciding whether to use bra cups or quilt batting to custom make the bra cups, but I went for already-made bra cups. I felt like those would give more structures than quilt batting. The quilt batting worked well for my bombshell dress bust part, but for wedding dress, I was glad to have chosen the bra cups.
Read my progress on sewing wedding dress! :
Part 1 – Fabric shopping
Part 2 – Muslin
Part 3 – Another Muslin
Part 4 – Cutting Fashion Fabric
Part 5 – Sewing the Bust Part
Part 6 – Ruching
Part 7 – Skirt Part
Part 8 – Install a Zipper & Bones

 finally started my blog!
 ARK POP UP SHOP at Takanashi Building
 DIY Faux Leather Baseball Cap
 Embroidered Jeans
 Vibrant Kimono Mermaid Dress

 Gold lux


Lisa says
The dress looks great!
I am excited about your quilting project. I sell antique quilts. I love the hand quilting. Some quilts are 16-18 stitches per inch-amazing!
Can’t wait to see what you will do-i know it will be VERY cool!
Chie says
hey lisa! wow that sounds AMAZING. is there any photos up on your website of those quilts??