I tend to use invisible zippers for most of my creations. I think they are easy to install as long as you have the correct zipper foot. Also, I just generally like the clean look of it. So I tried to install an invisible zipper for this dress and ended in utter failure.
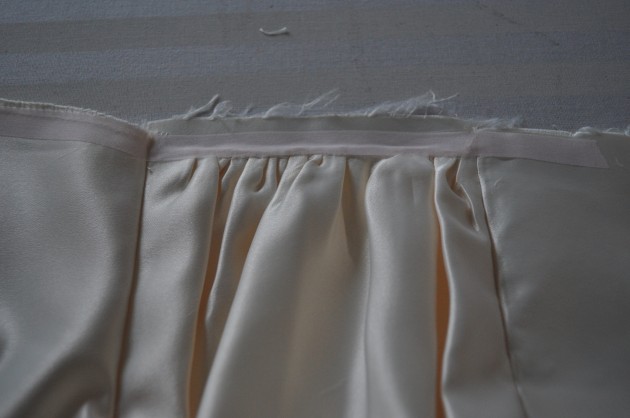
First, I used an iron-on interface along the line of where the zipper will be installed to stabilize the fabric. Then I trimmed the seam allowances a bit.
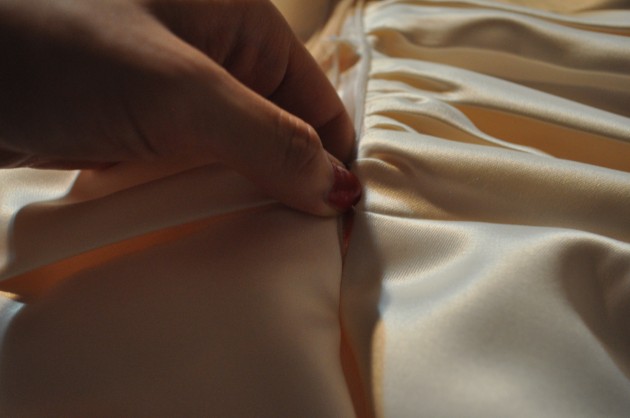
I did manage to install the zipper. However, the zipper did not go up. That’s because of all the gathered fabric from the ruched waist band! I kind of anticipated this to be a problem, but I went ahead to used the invisible zipper anyway hoping to get by. I should have followed my instincts and used a flat knit zipper:(
I ended up having to de-stitch and remove the zipper. I needed to buy a new zipper, so until I was able to make it to the store I worked on making the lining.
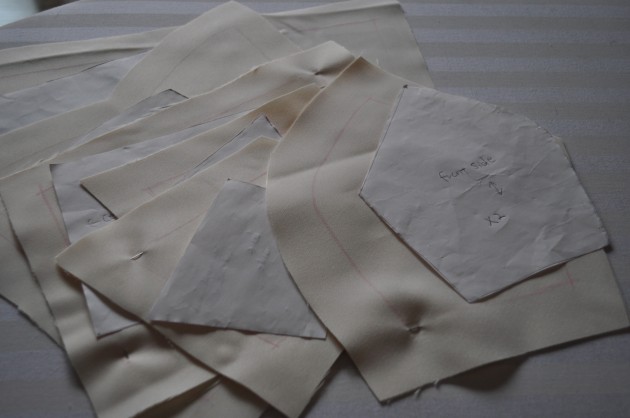
For the bodice lining, I used the fashion fabric, instead of the lining fabric which I originally bought. I did this because I wanted to have a bit more structure to the bodice. I cut out the pattern pieces just like I did to make the bodice.
Then I sewed just like I did for the outer bodice. By this time, I was an expert in making this bodice! In total, I sewed the same thing about 6 times including the multiple muslins I’ve made!
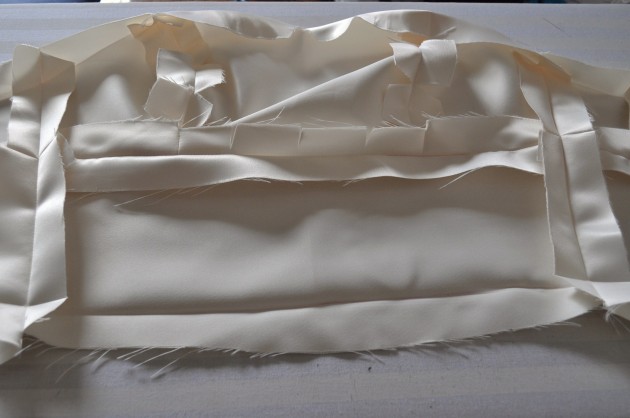
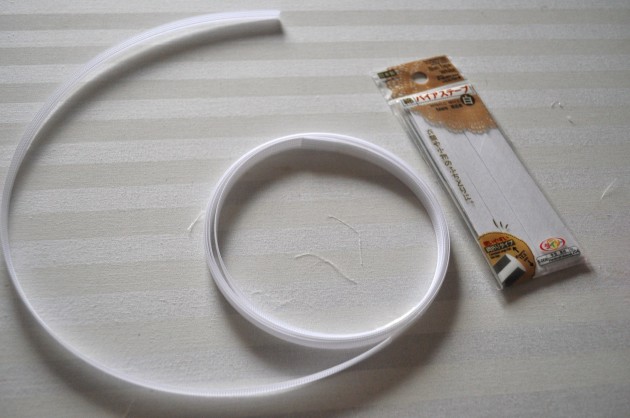
I went to 100 yen shop (like a dollar store in Japan), and bought this white bias strips. I am going to use this to make boning channels.
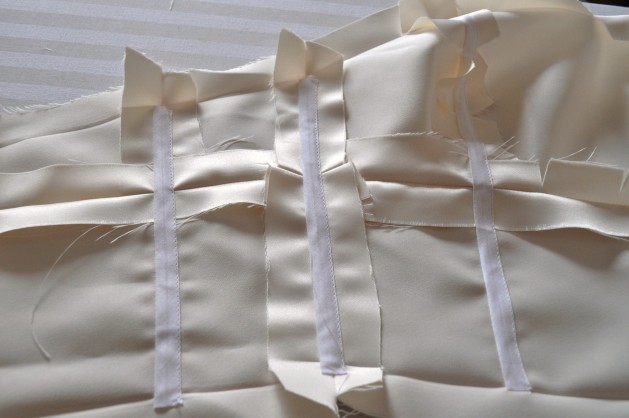
I sewed the sides of the bias tapes to where I want the bones to go in on lining fabric. Here is the look from the inside:
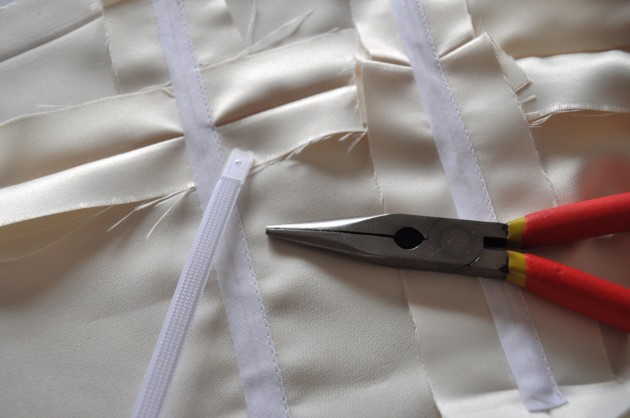
Then I cut the plastic bones to the appropriate length, put the boning caps and inserted them in the boning channels. The boning caps prevent the bones from poking through the fabric. I bought these from Tomato Notion shop in Nippori, for 25 yen each.
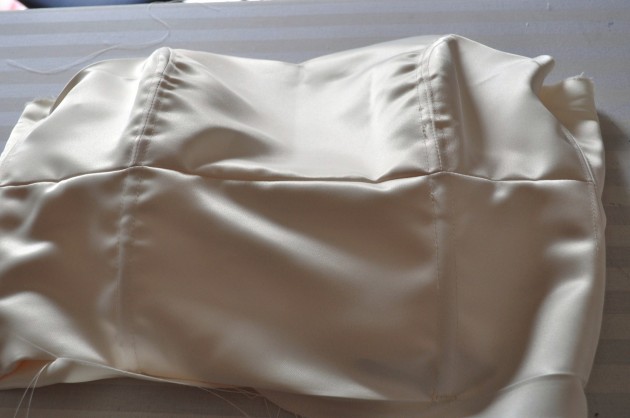
This is what it looks like from outside of the lining bodice. The boning gave a good structure to the bodice.
In retrospect, I did not have to make the boning channels, since I used the plastic boning which can be sewed directly on to the fabric. I guess if you use steel boning, you should make the channels, but for plastic ones, channels are not necessary. But, I do think the channels look prettier and neater! 🙂
Read my progress on sewing wedding dress! :
Part 1 – Fabric shopping
Part 2 – Muslin
Part 3 – Another Muslin
Part 4 – Cutting Fashion Fabric
Part 5 – Sewing the Bust Part
Part 6 – Ruching
Part 7 – Skirt Part

 MADE | Sheer Pullover Sweater
 Random Things I Made | April 2016
 Lookbook: Flickers
 Alice in Wonderland Dress
Lisa says
Wow, that’s alot of work. I admire your sewing skills!
Samantha Nandez says
I can’t wait to see the final results of this dress!!
Chie says
thank you sam!!
zhing says
golly! a lot goes into a making of a wedding dress! im sure your friend appreciated it lots!! xx
Chie says
hi zhing! yes it is a lot of work! different from making just a sun dress:) but i learned a lot from this experience! xo
Catherine byrne says
I need to replace a corset back for a zipper and bottoms could I get some advice please
Chie says
Hi Catherine, thank you for your comment. I have done the opposite (zipper back to corset back) but never done what you described. It might be difficult without having the same fabric to extend the back panel for a zipper placement. Sorry that I could not be of more help!
-Chie