Hello everyone! Hope you had a wonderful weekend. Mine was nice – Andy, Kiko and I went to Enoshima, which is a small island near Fujisawa, Kanagawa. They have a plenty of Japanesey cute shops, souvenir shops and of course a beach. The weather was super nice, sunny and crispy (not muggy like an average Japan summer day). After our family excursion, I went to get my hair done:) I was going to cut my bangs short and straight, but I decided against it – I’ve had my bangs long for so long, I don’t have the courage to change it dramatically.
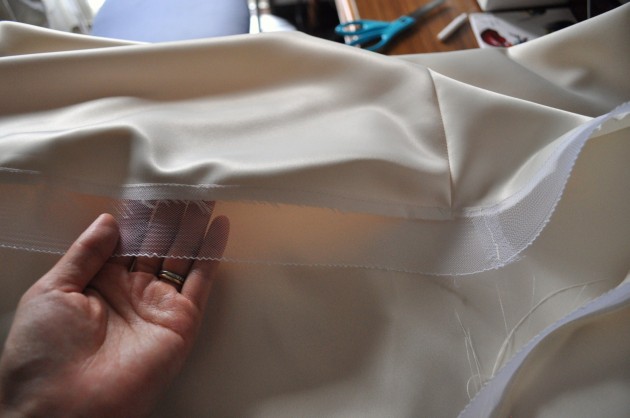
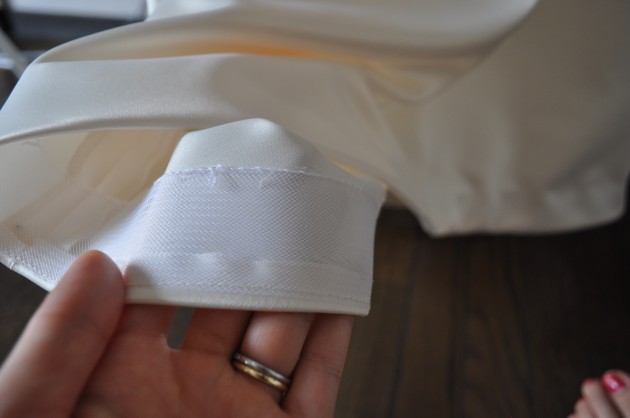
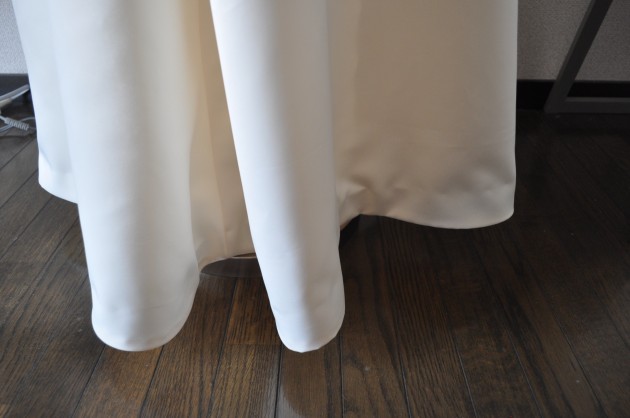
Anyway, here is my progress on my friend’s wedding dress. I finished the skirt lining and installing the zipper (successfully) last time. At this point, I hemmed the skirt. There is a very nice item called horse hair braid to hem skirt like this. This was my first time using horse hair braid, and what a clever item it is! I bought this at Okadaya in Shinjuku, and I think it was about 250 yen per meter. If you are in the States, I know Sunni from A Fashionable Stitch has horse hair braids stocked in her shop for a very reasonable price ($1.60 per yard). This item is great for hemming both circle skirt and half circle skirt.
So, I attached the horse hair braid to the hem, and then realized that I had made a crucial mistake – I did not underline the skirt, and I really should have. I wish I underlined the skirt with silk organza, so when I hand sew the end of horse hair braid onto the dress, I will be able take the stitches from the organza itself, not the fashion fabric. It was really nerve-wrecking to try to scoop a stitch from the back of the fashion fabric without a stitch showing on the right side of the fabric. Lesson learned for next time…
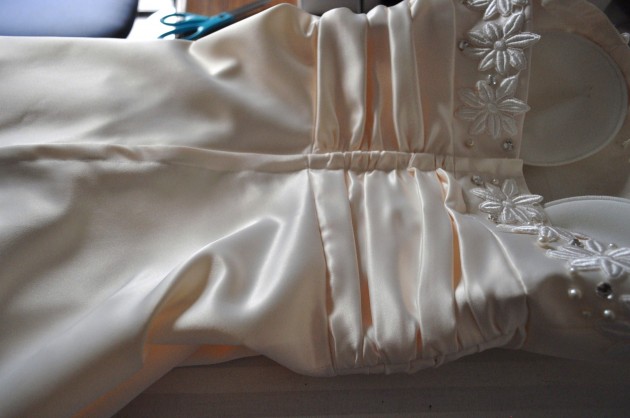
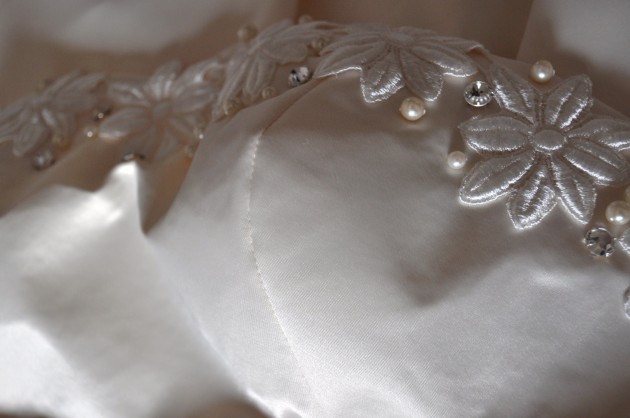
Before attaching the upper body lining, I hand sewed the lace, pearls and rhinestones. It took FOREVER! This dress took so much more hand sewing than I expected. I carefully hand sewed each pearl and rhinestone individually. I did this by tying the string and cutting it for each individual piece. I did this because I did not want to have all the pearls/rhinestones attached to one string thereby opening myself up to a possible domino effect where one pearl gets detached from the dress and causes all the others to disconnect from the dress. I think I watched 4-5 episodes of project runway while doing this. I often stopped to see the balance of the pearls and rhinestones!
It took time, but I am very happy with the result:
What do you think?! I’m almost done!!
P.S. I’m guest blogging at Jo’s blog, A Bit Of This and a Bit Of That today, sharing a tutorial on how to make a headband! Check it out here.
Read my progress on sewing wedding dress! :
Part 1 – Fabric shopping
Part 2 – Muslin
Part 3 – Another Muslin
Part 4 – Cutting Fashion Fabric
Part 5 – Sewing the Bust Part
Part 6 – Ruching
Part 7 – Skirt Part
Part 8 – Install a Zipper & Bones
Part 9 – Skirt Lining, Another Attempt to Install Zipper and More Supplies
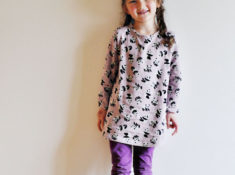 Panda Knit Dress from Yuki Araki’s Sewing Book
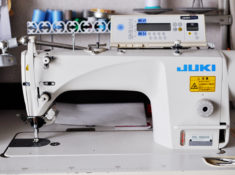 Juki Industrial Sewing Machine DDL-9000SS Review
 Stripes in two ways
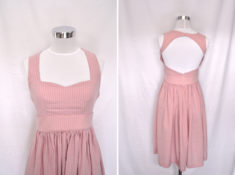 Shop Update and Another Last Minute Outfit!
Paunnet says
Wow the embellishments are really stunning!
I’m looking forward to seeing the completed garment!
Sophia says
The dress looks wonderful Chie!
kristin says
it’s so beautiful, chie! i love it when you post about making this dress. it’s way beyond my skill level, but amazing to watch it come together. your friend is so lucky!