Today, I want to write about how it was to sew the bust part of the wedding dress, but before I do so, I wanted to share Sarah from Pattern Runway‘s insightful comment on iron-on interface in case you missed if from my last post.
“…When I was working in fashion Industry we always used a stretch high-quality fusing such as whisper weft or sheer weft fusing on all fabric types, you can purchased this type of fusing in different weights from sheer to quite a heavy weight, this fusing fuses beautifully for just about every type of fabric I have used from silks to georgettes and heavy weight wools to. Because of the stretch nature of the fusing it strengthens the fabric giving it more body and weight but without the crinkly, stiff feeling that the other types create. It still retains the quality and characteristics of the fabric you are using…
I used to hate fusing before i knew about this type! Most sewing /fabric stores will sell this as a stretch fusing but its not to be only used for stretch fabrics!!! I know that alot of bridal places use this type of fusing to “Block” Fuse the whole amount of fabric (including the skirt) before cutting out the individual pieces as it prevents the fabric from creasing during wear and makes it really nice to sew and press aswell!
Just as a note I only use the whisper and sheer weft fusing on all my sewing projects and have great success with it!”
I have used stretch fusing, but only on stretch knit. I did not know it was so versatile and can be used for non-stretch fabrics! I can’t wait to try this trick for my next project, and wanted to share her sewing tips with you all.
Going back to sewing bust parts..
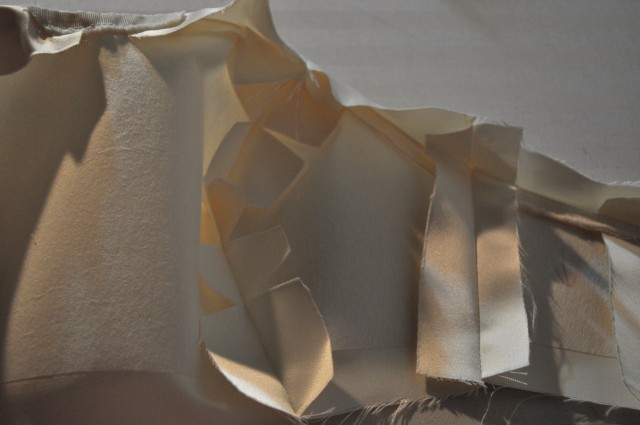
I sewed bust parts together, carefully on the seam lines. I want this part to fit her body perfectly! Then cut notches on curves, and opened the seam allowances with iron.
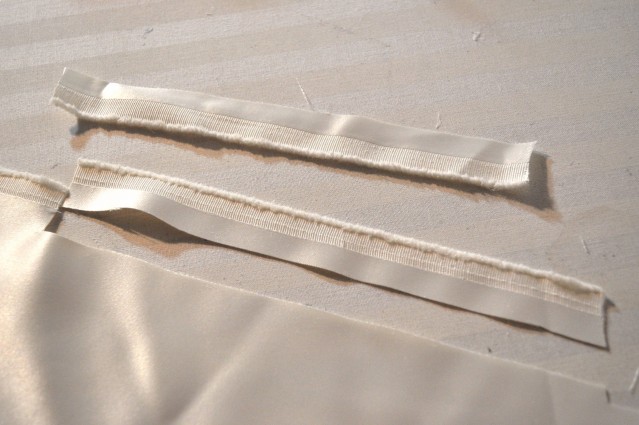
For the sweet heart neckline, I used a trick I learned from Gertie‘s Perfect Bombshell Dress course I took over at Cratsy.com. In the course, she uses twill tape to sew in the bust curve part, but also recommends using selvage of the fashion fabric. Since I did not have twill tape on hand, I cut the selvage of the fabric, 1/2″ shorter than the bust curve length. I did the same for both right and left side of the bust curves.
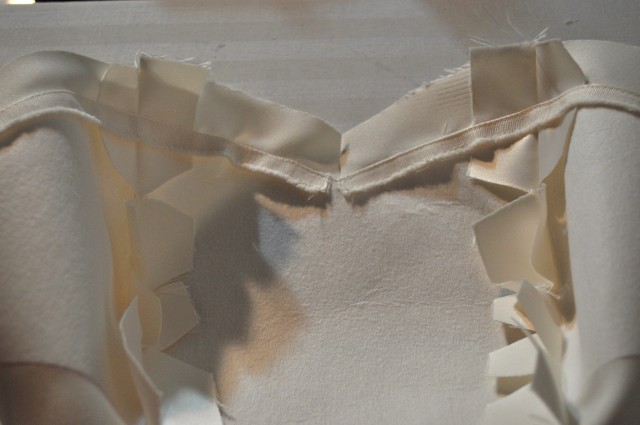
After that, I cut in the “V” shape part of the bust line.
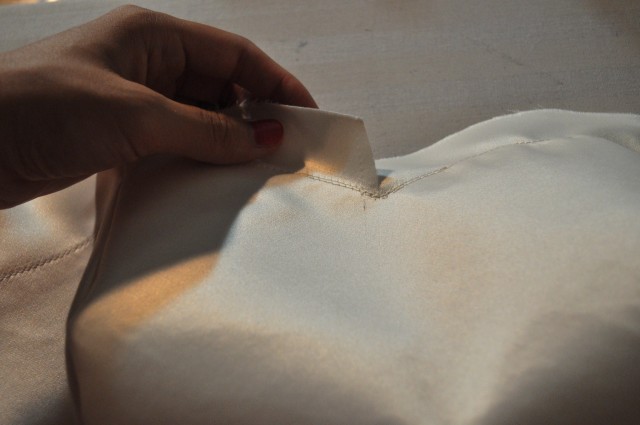
Then I ironed the bust line, folding the seam allowances inwards. Also, I added a strip of selvage fabric at the “V” line to strengthen that part. This trick I learned from the Perfect Bombshell Dress course as well. The course was totally worth it!
Read my progress on sewing wedding dress! :
Part 1 – Fabric shopping
Part 2 – Muslin
Part 3 – Another Muslin
Part 4 – Cutting Fashion Fabric

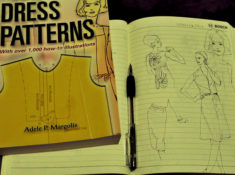 Sketch Everyday
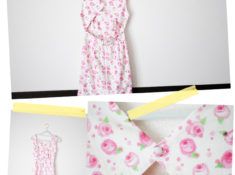 Built-a-Dress: Rose Print Spoonflower Fabric Dress
 Moving Sale!
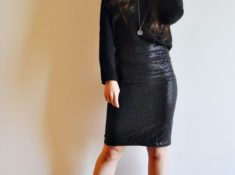 NYE Black Sequin Skirt
Meghan says
This looks great so far. And thanks for sharing the tip for sweetheart necklines!
Sarah says
So glad that my fusing comments were helpful! Thank you for sharing
x
sarah says
the dress looks like it’s coming on a treat can’t wait to see it finished.
thanks for sharing the tips about interfacing I will definitely be on the look out for stretch interfacing sounds much better than normal interfacing 🙂
Chie says
hi sarah! thank you for sharing your tips! i can’t wait to try using the stretch interface on different fabrics. im experimenting using different underlining on garments after taking gertie’s class on bombshell dress. its so fun!