Read:
Part 1 – Fabric shopping
Part 2 – Muslin
Previously in Part 2, I wrote that I sent my bride-to-be friend a muslin of the wedding dress. She tried on the muslin over the top of her under wear corset, and it turned out that the muslin was little too big. She said it was about 4cm to big on the side, but to be sure I asked her to pin the dress till it fits her and send it back to me by mail.
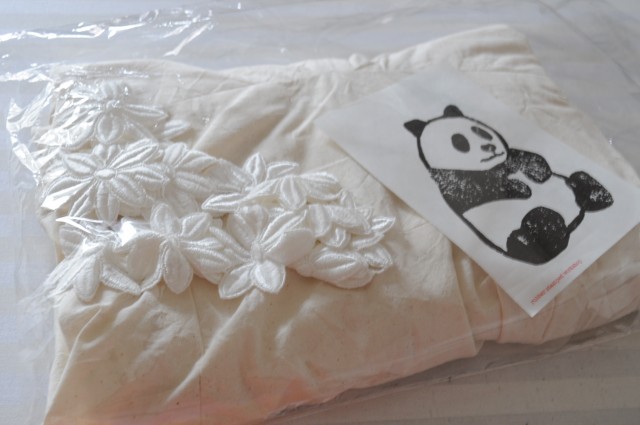
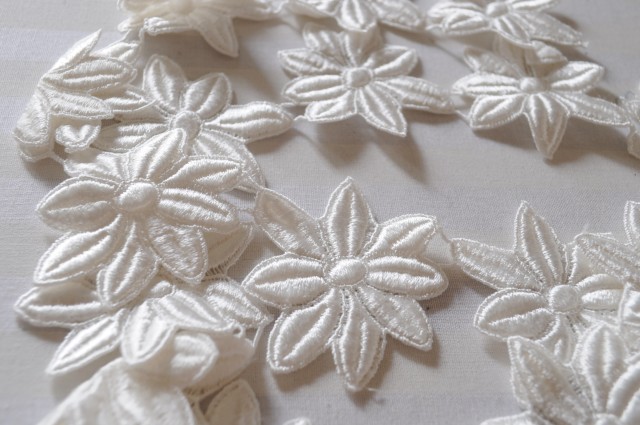
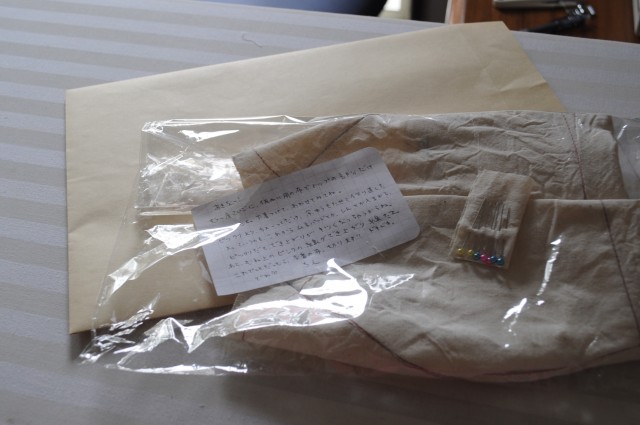
She sent back the dress with lovely panda note and flower chemical lace. We have not decided yet, but maybe we will use the lace to decorate the bust line. The lace is beautiful! I want it for myself…
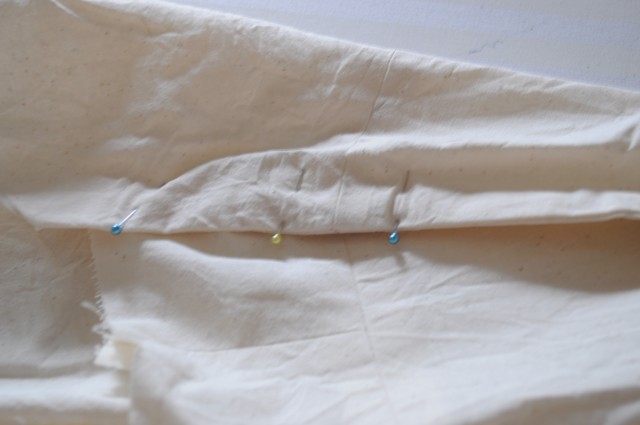
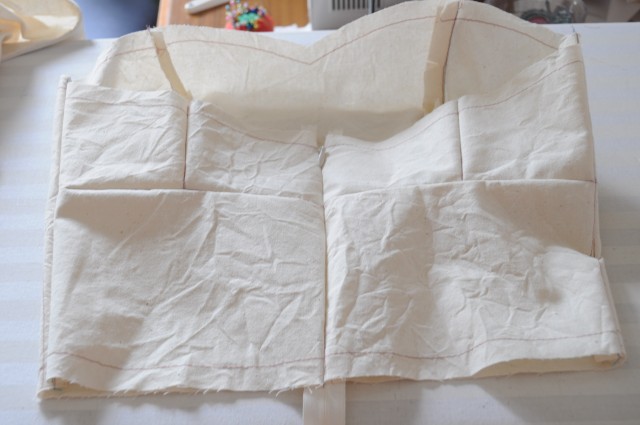
This is how the dress came back – ironed and pinned on the side to show how much I should take it in. At this point, I started to get nervous. This was the 4th muslin I made. Because of the distance between her and I, it was hard to get the fit just right. Also her wedding date is approaching and I would like to give the completed piece to her at least two weeks ahead of time.
I took out the pins, and measured how much she took in. It was about 2.5″ on top bust line, and 1″ at the top of the waist line. Then I sewed the line she pinned together, so I can keep this muslin piece which fits her well to guide me through the rest of sewing process.
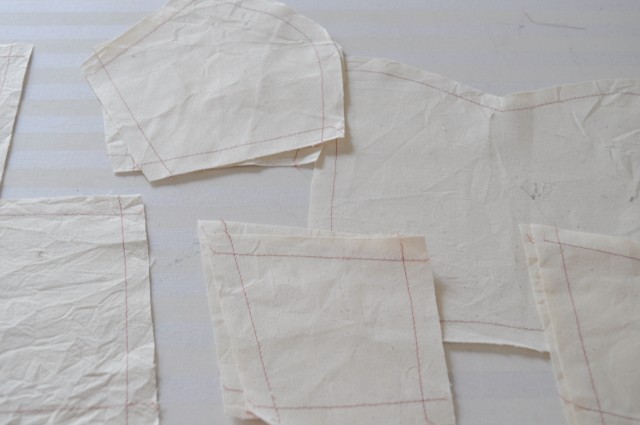
Now, time to make another musli. Hopefully this is the last time! I decided to only make a muslin for the bodice, as the skirt fit her well. This time I did things a bit differently: I worked on the seam line, instead of seam allowances. This I learned from Gertie’s Perfect Bombshell course I took over at Craftsy.com. I was used to working on seam allowances, since most patterns from BurdaStyle include seam allowances. However, many Japanese pattern books do not include seam allowances, and I used to get frustrated because I would often forgot to add the seam allowance myself. After taking Gertie’s course though, I am convinced that it is better to work on seam line for dresses like this in order to get a more accurate fitting. I made paper patterns, traced it on muslin fabric, added 1/2″ seam allowances, machine basted the seam line.
Machine basting the seam lines was very, very helpful. I can feel the stitch to match when connecting the pieces together. I think this way is better making a dress which 1/8″ or even 1/16″ difference matters.
I added a note, and sent the 5th muslin to my friend. Now I’m anxiously waiting for her to receive and tell me “it fits perfectly”..

 Three New Sewing Books
 Mommy’s Diary 12
 Time Saving Tips for Blogging and Social Media Posts
 Behind the Scenes:: Fall 2013 Lookbook
JEH, Esq. says
Hang in there! Making a wedding dress for someone else can be a super anxiety producing process. Just remember that if the fit really comes down to 1/16th of an inch, your friend can always pad her undergarments. (j/k)
Whatever the result, I am sure she will be thankful that you have gone through such great lengths to make it perfect.
Also, that lace is beautiful. Happy sewing!
Chie says
hi! padding her undergarments to adjust the fit is a great idea! i didnt think of that.
thank you for the encouragement, happy sewing to you too!